Country Club
.Country Club Security Fence
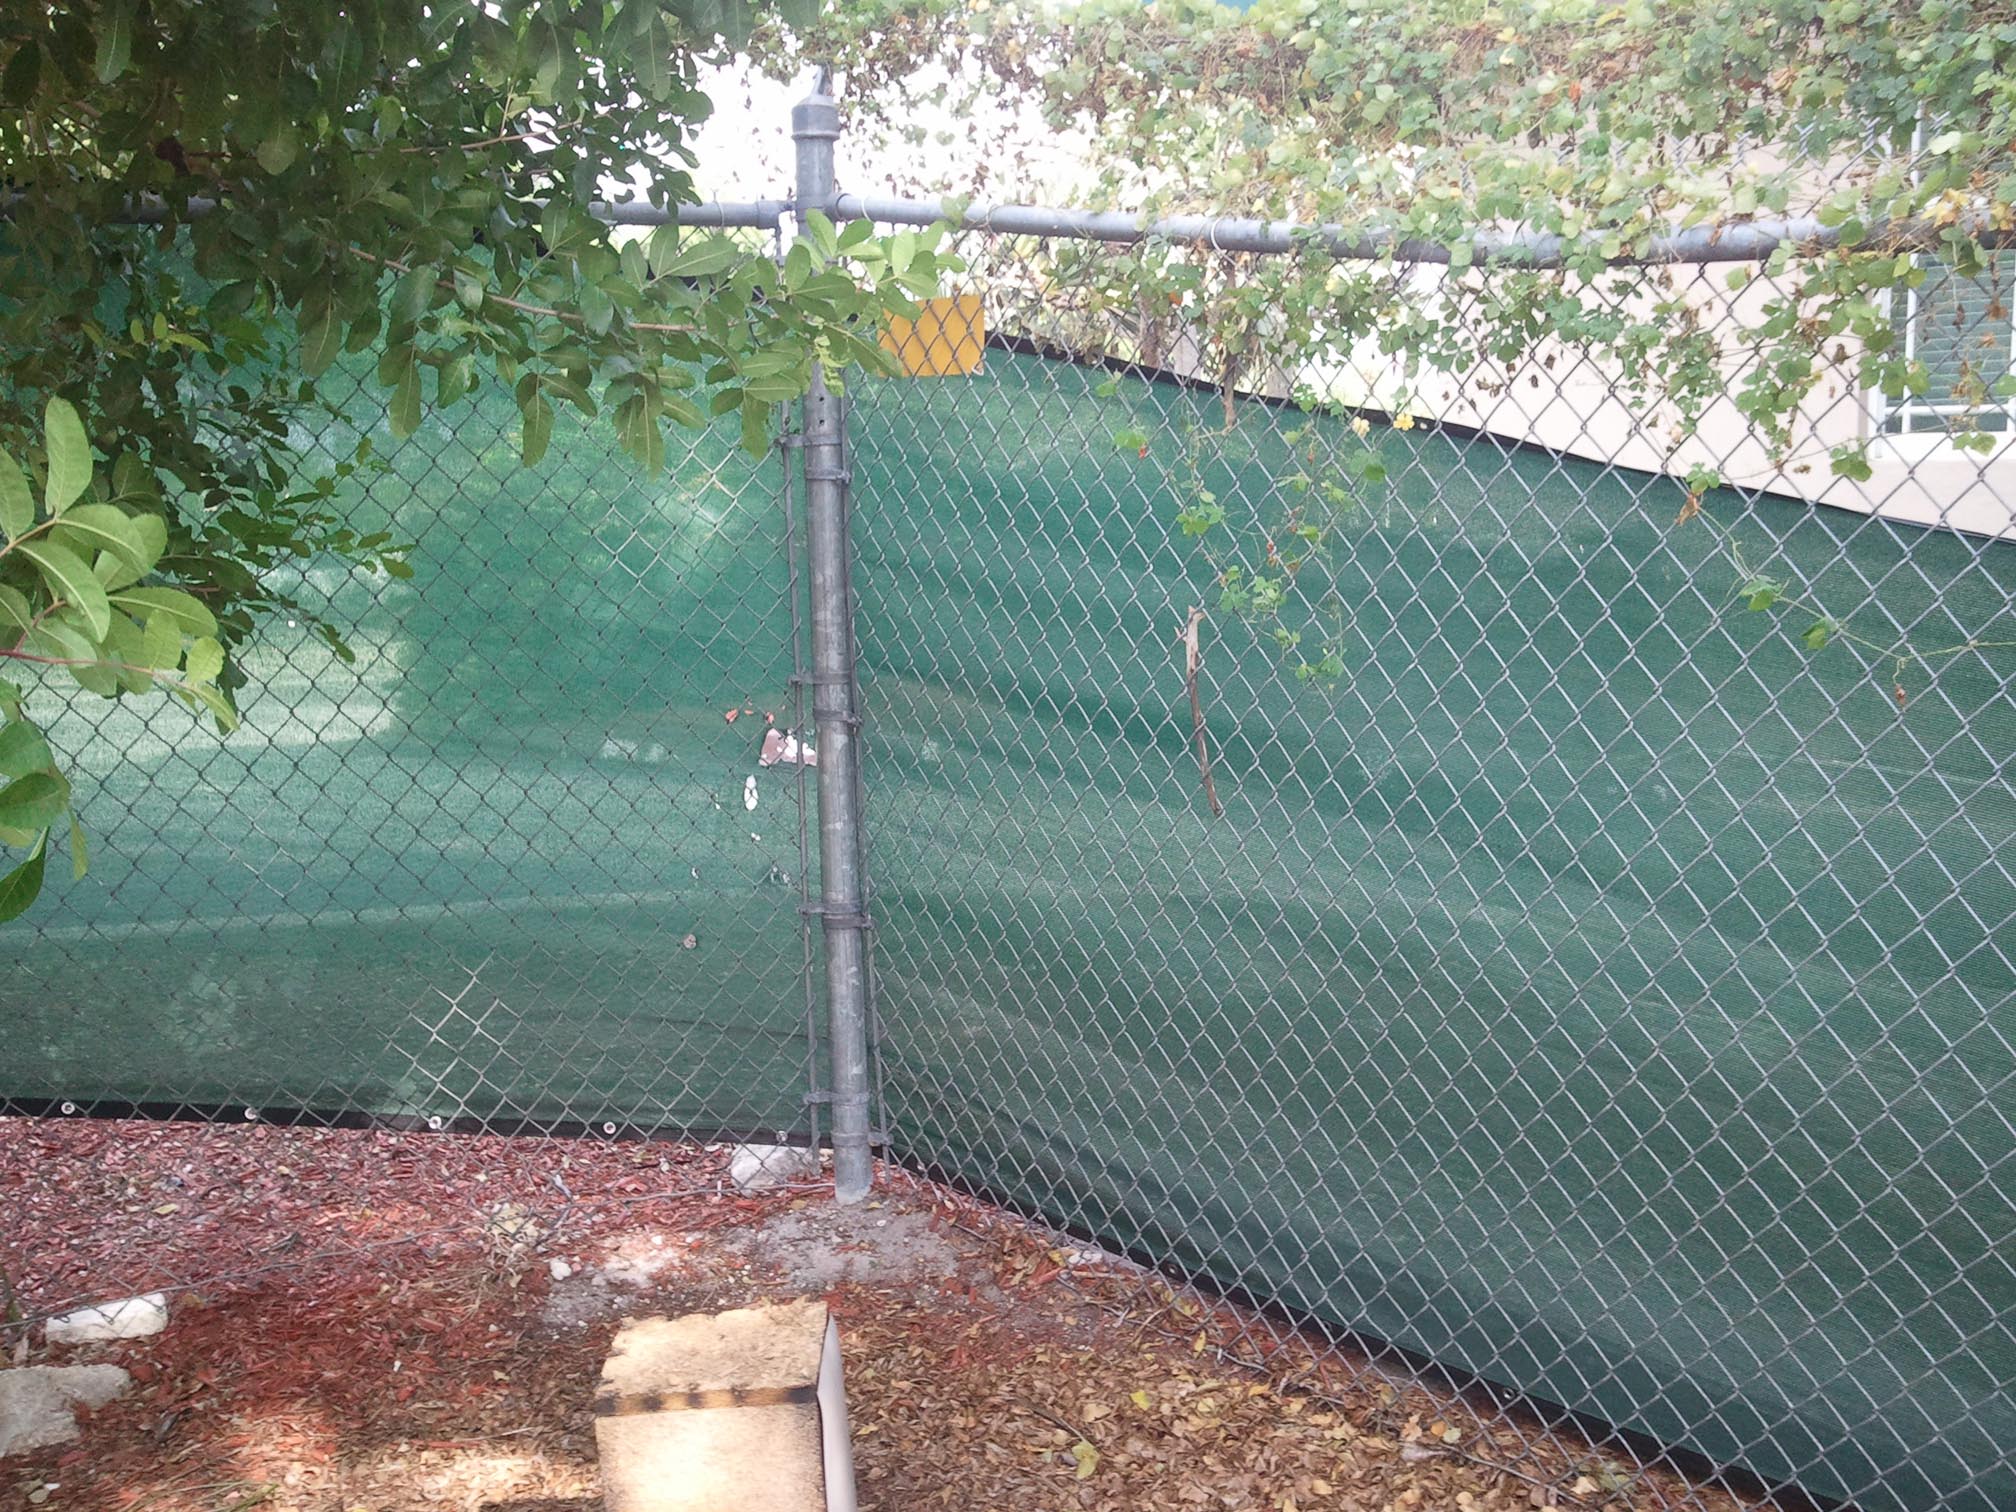
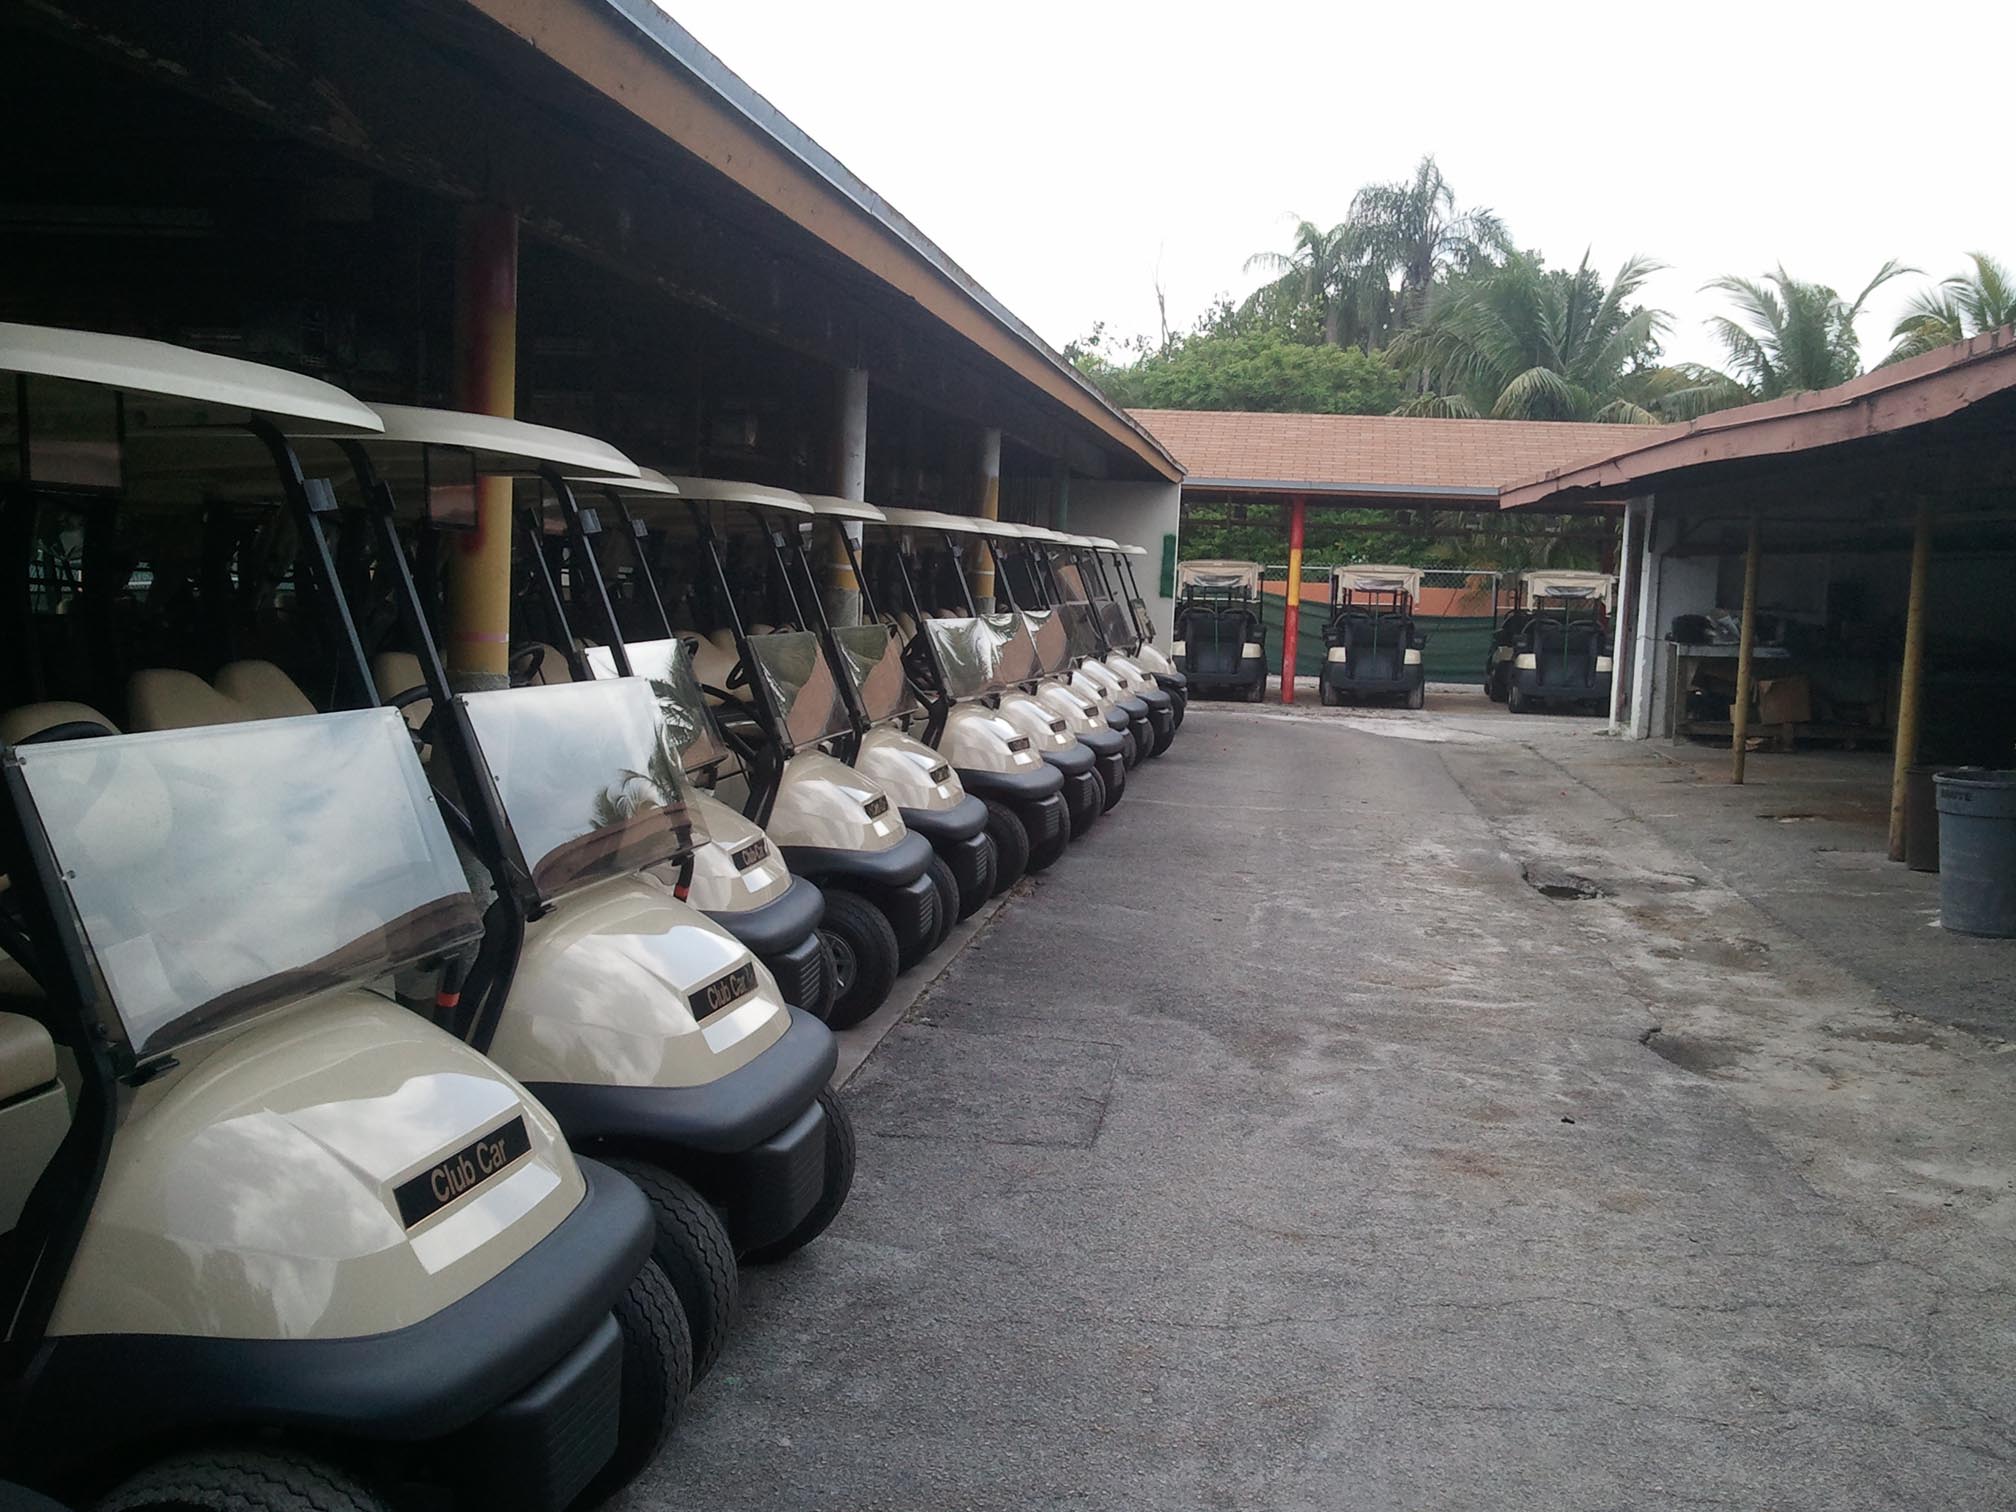
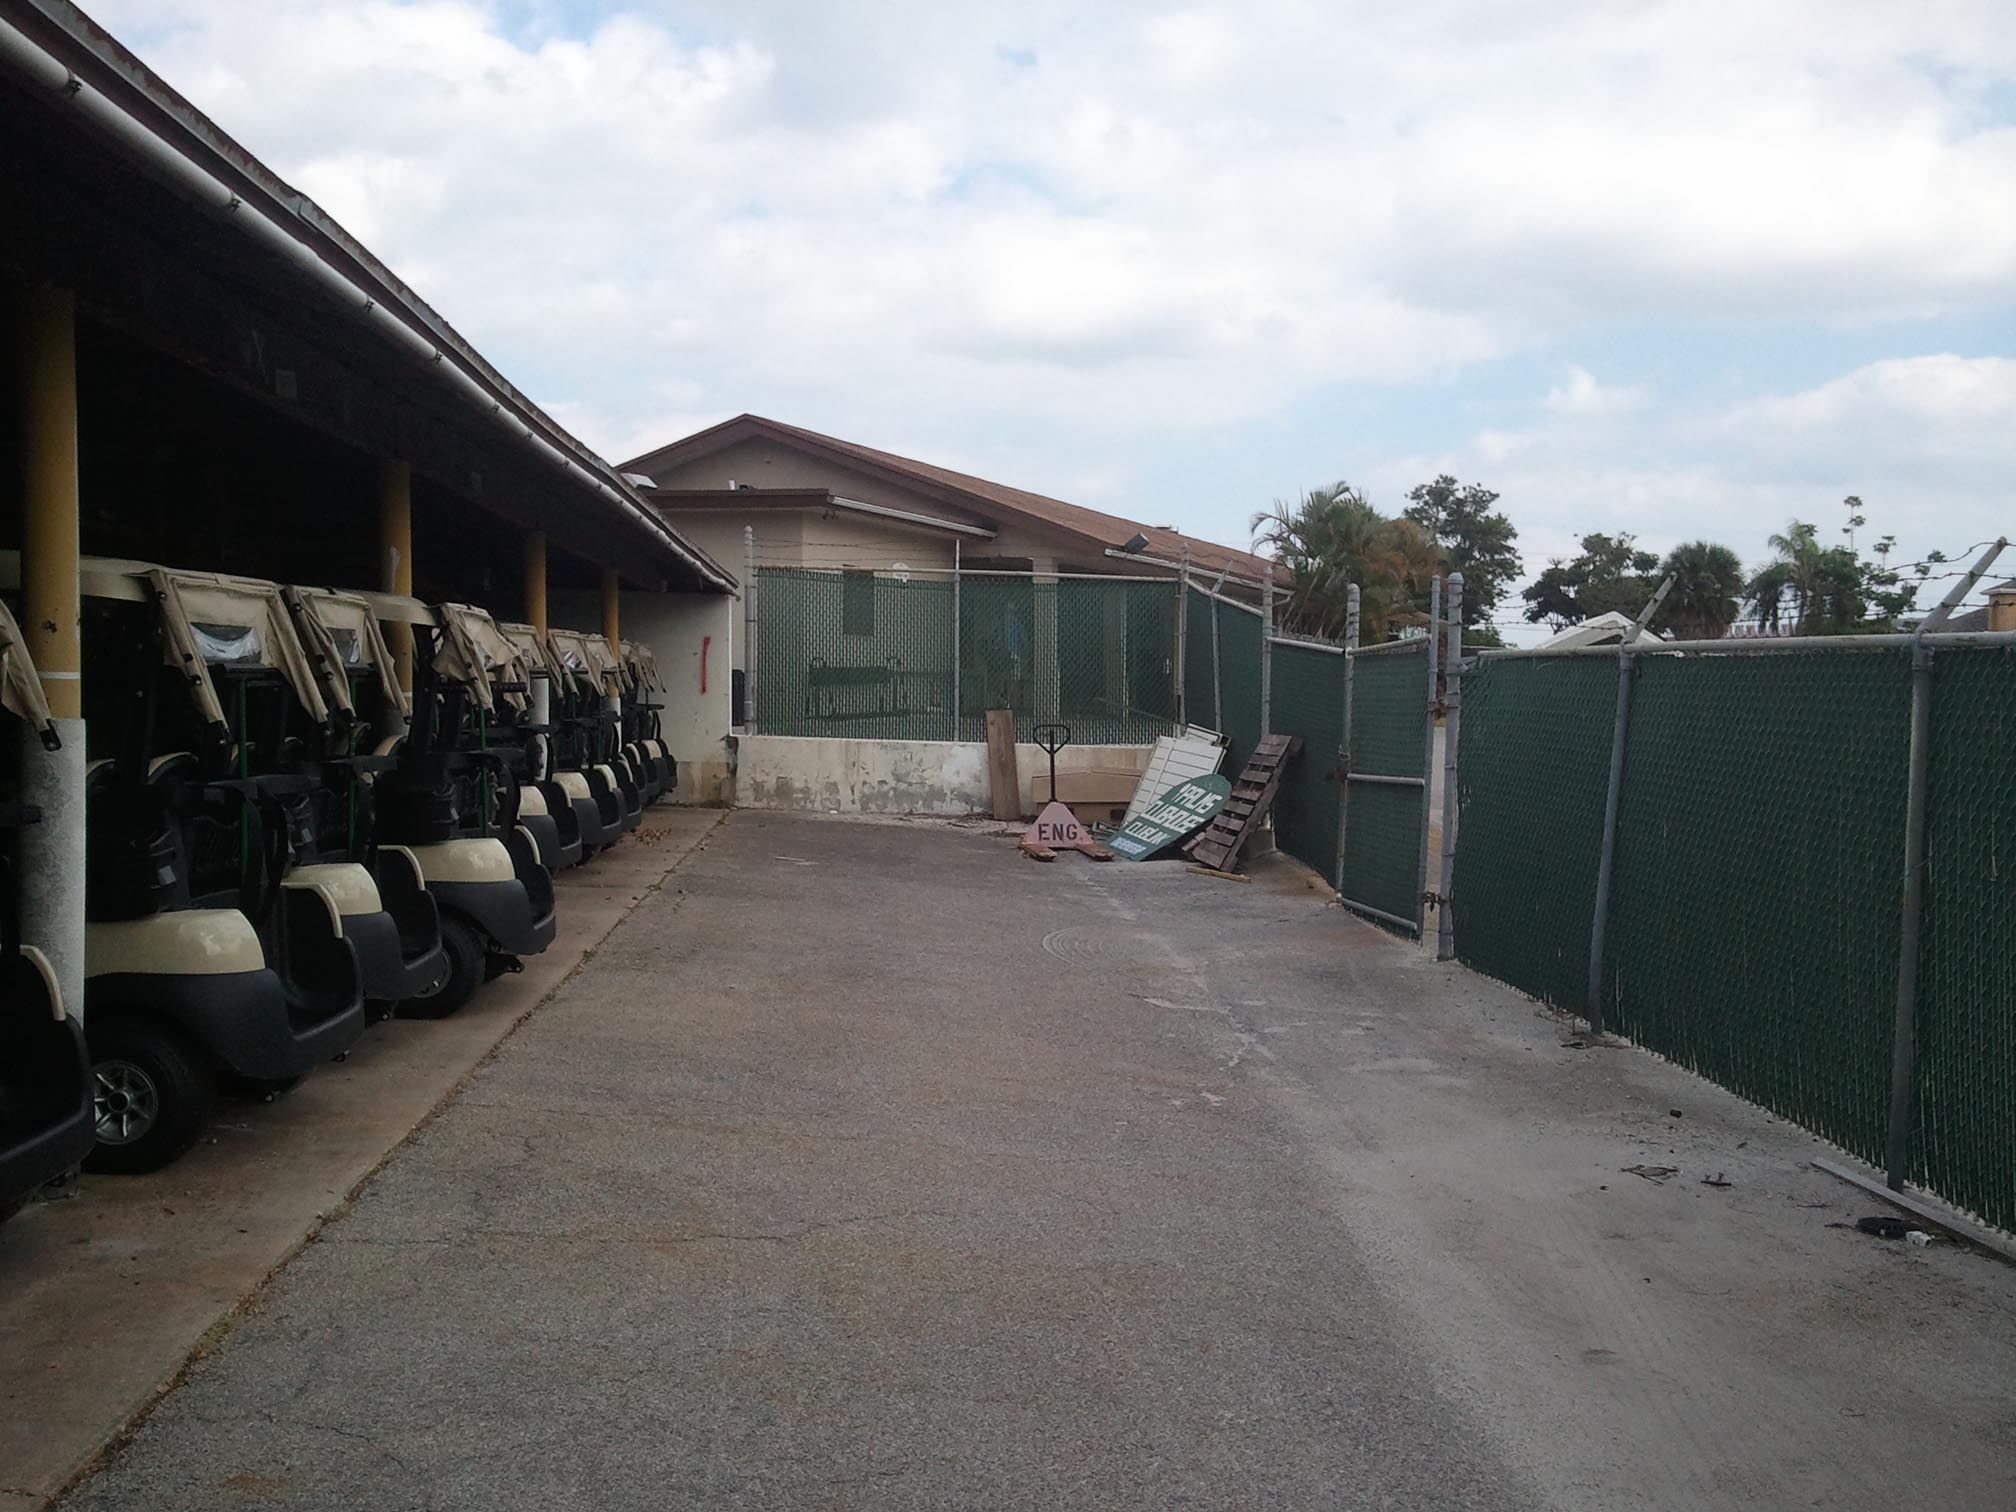
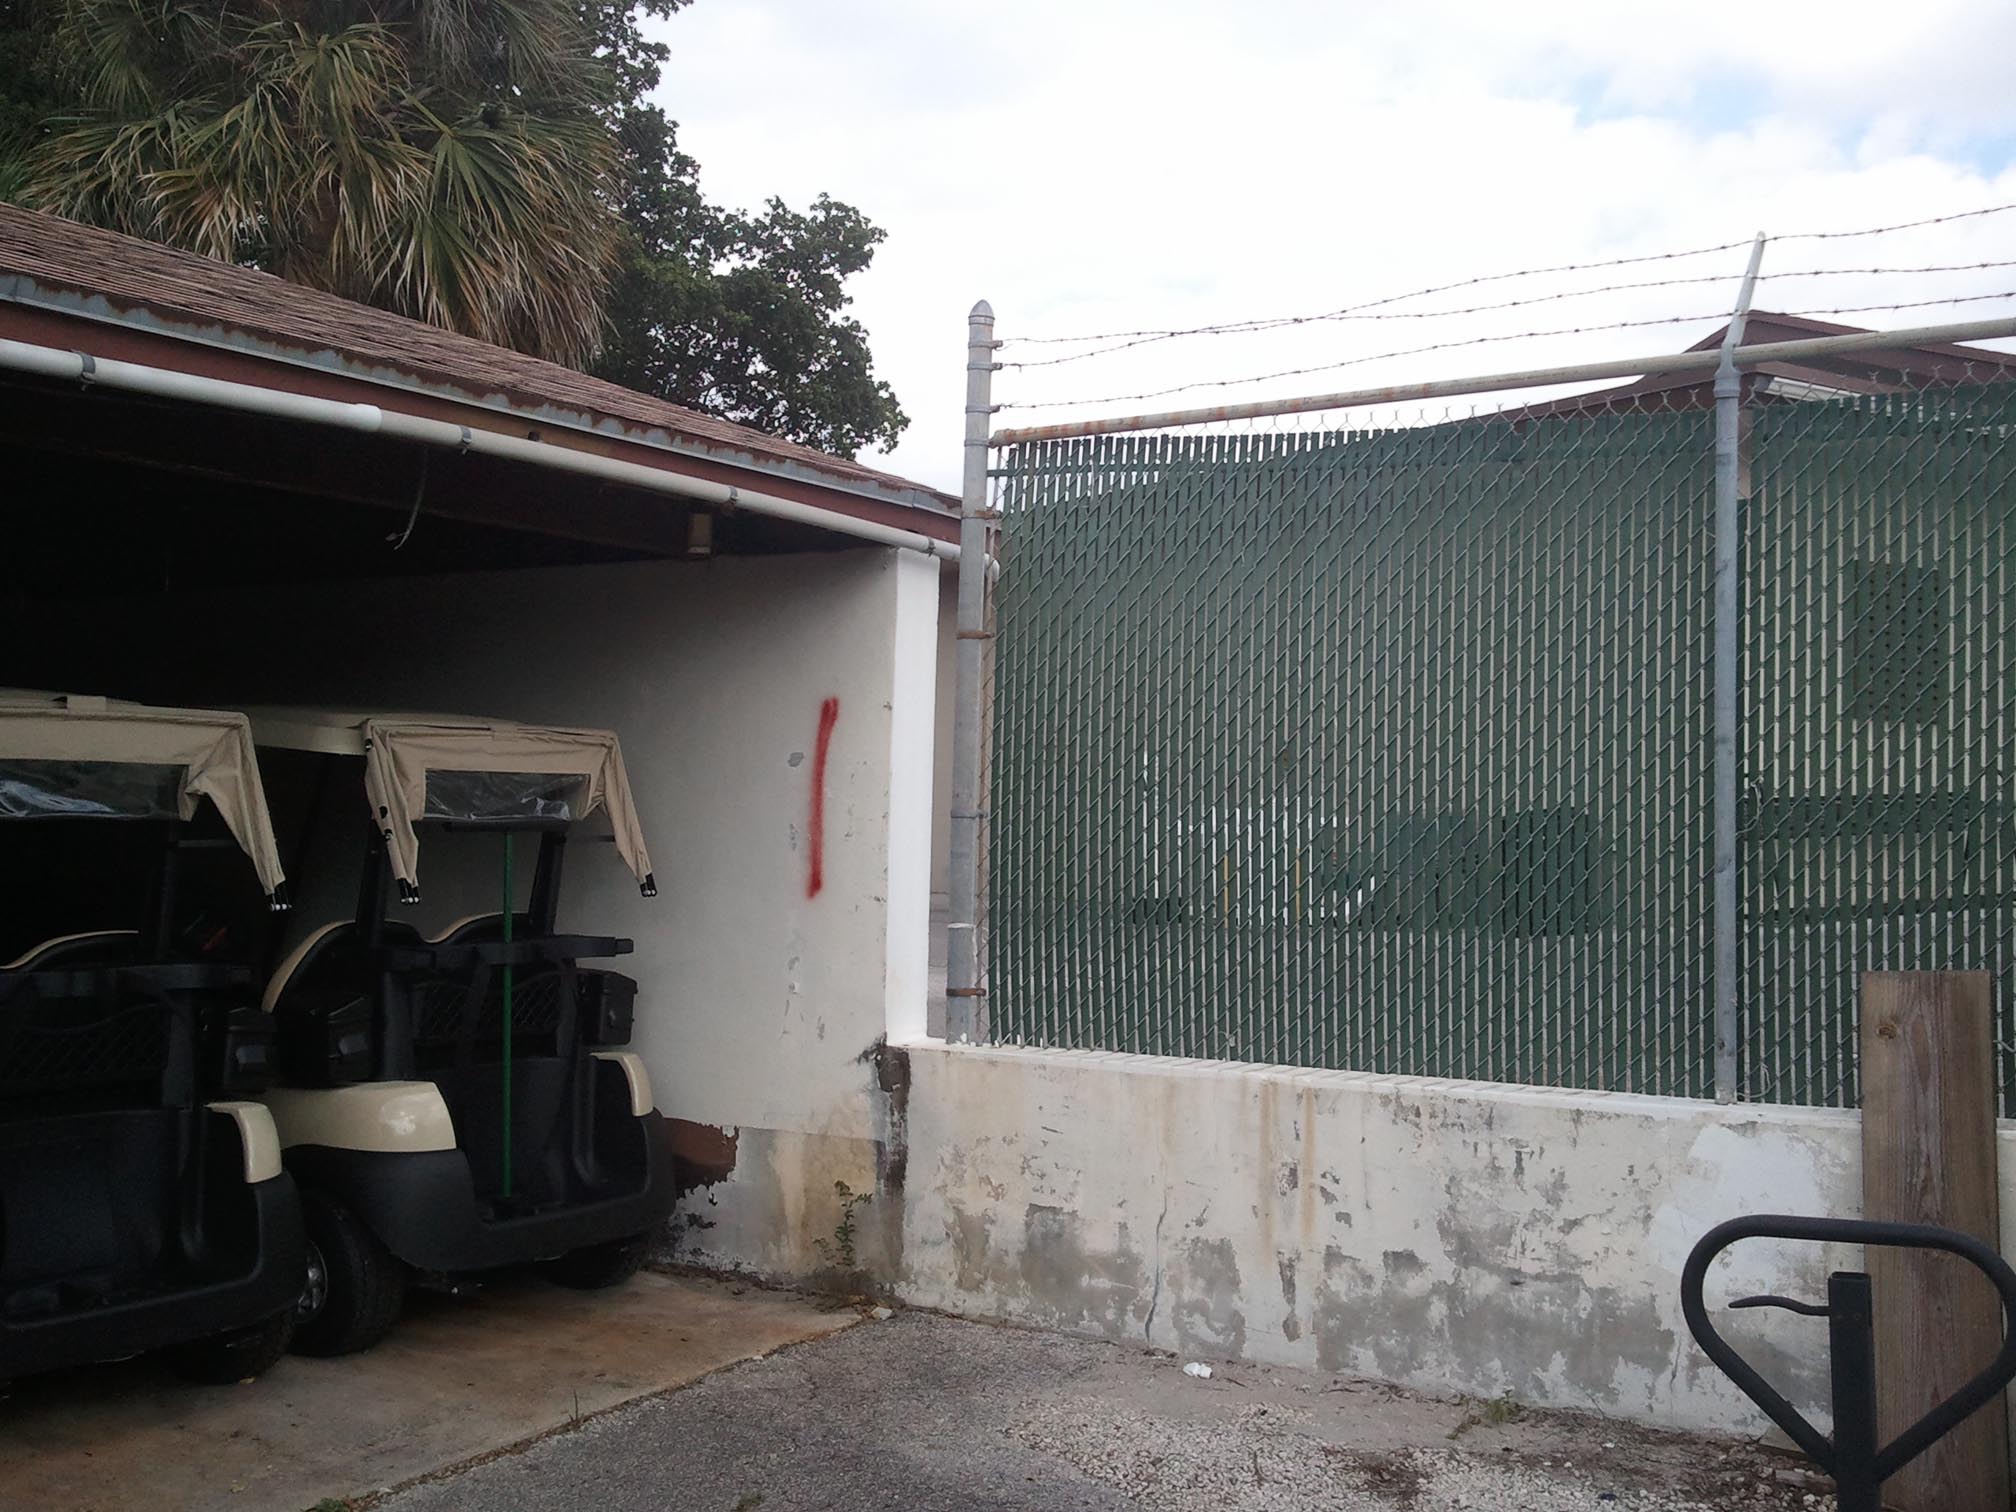
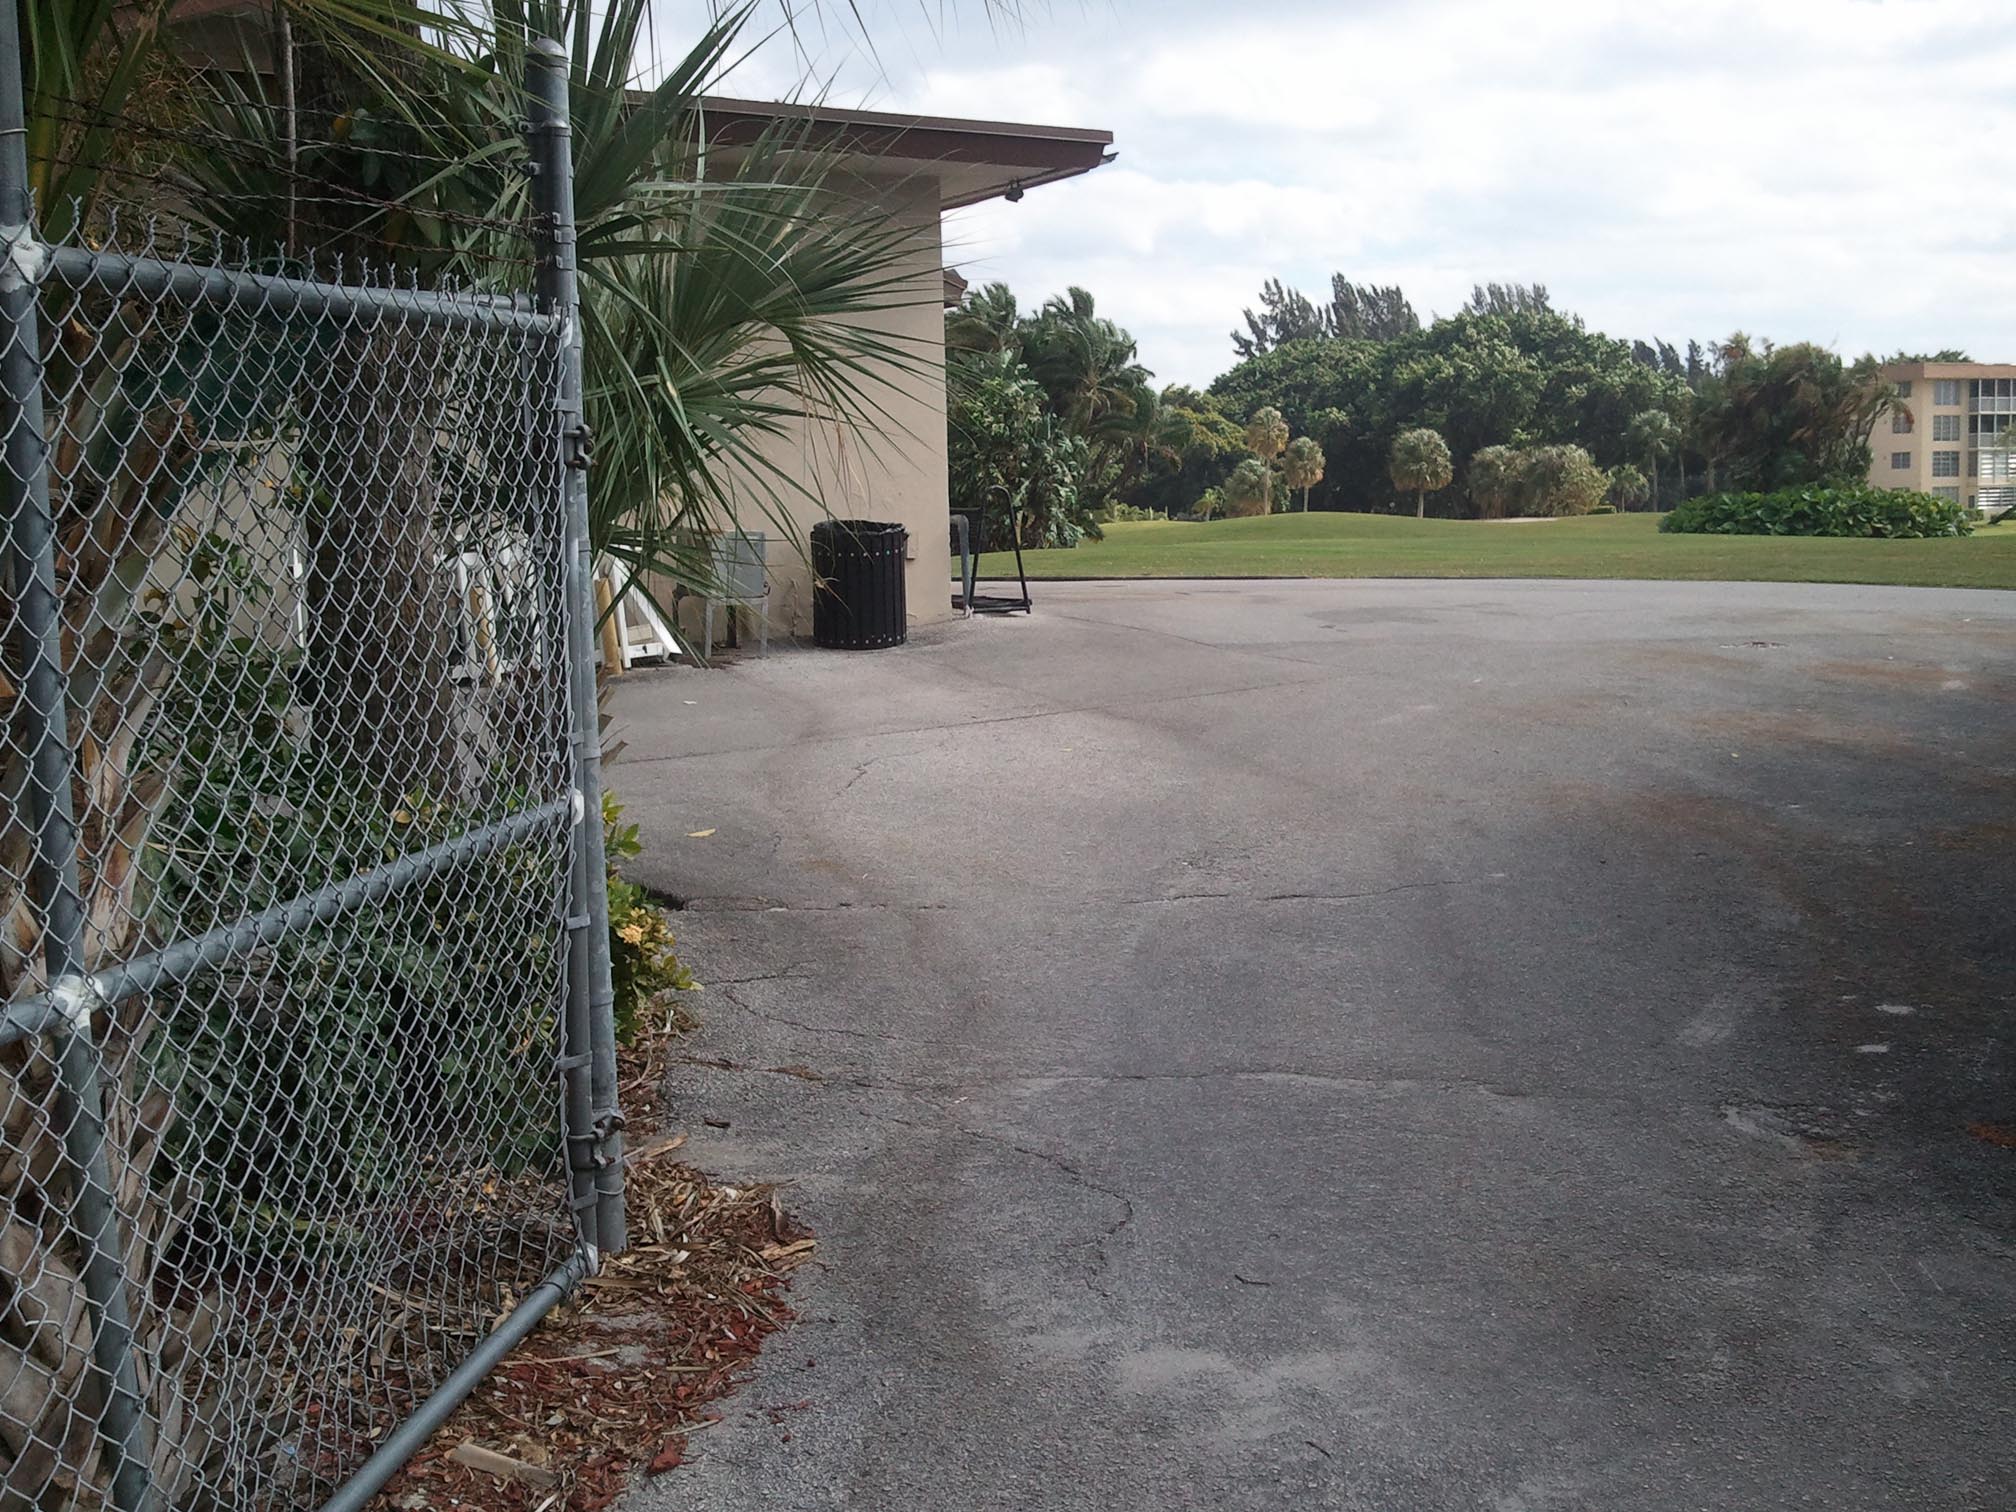
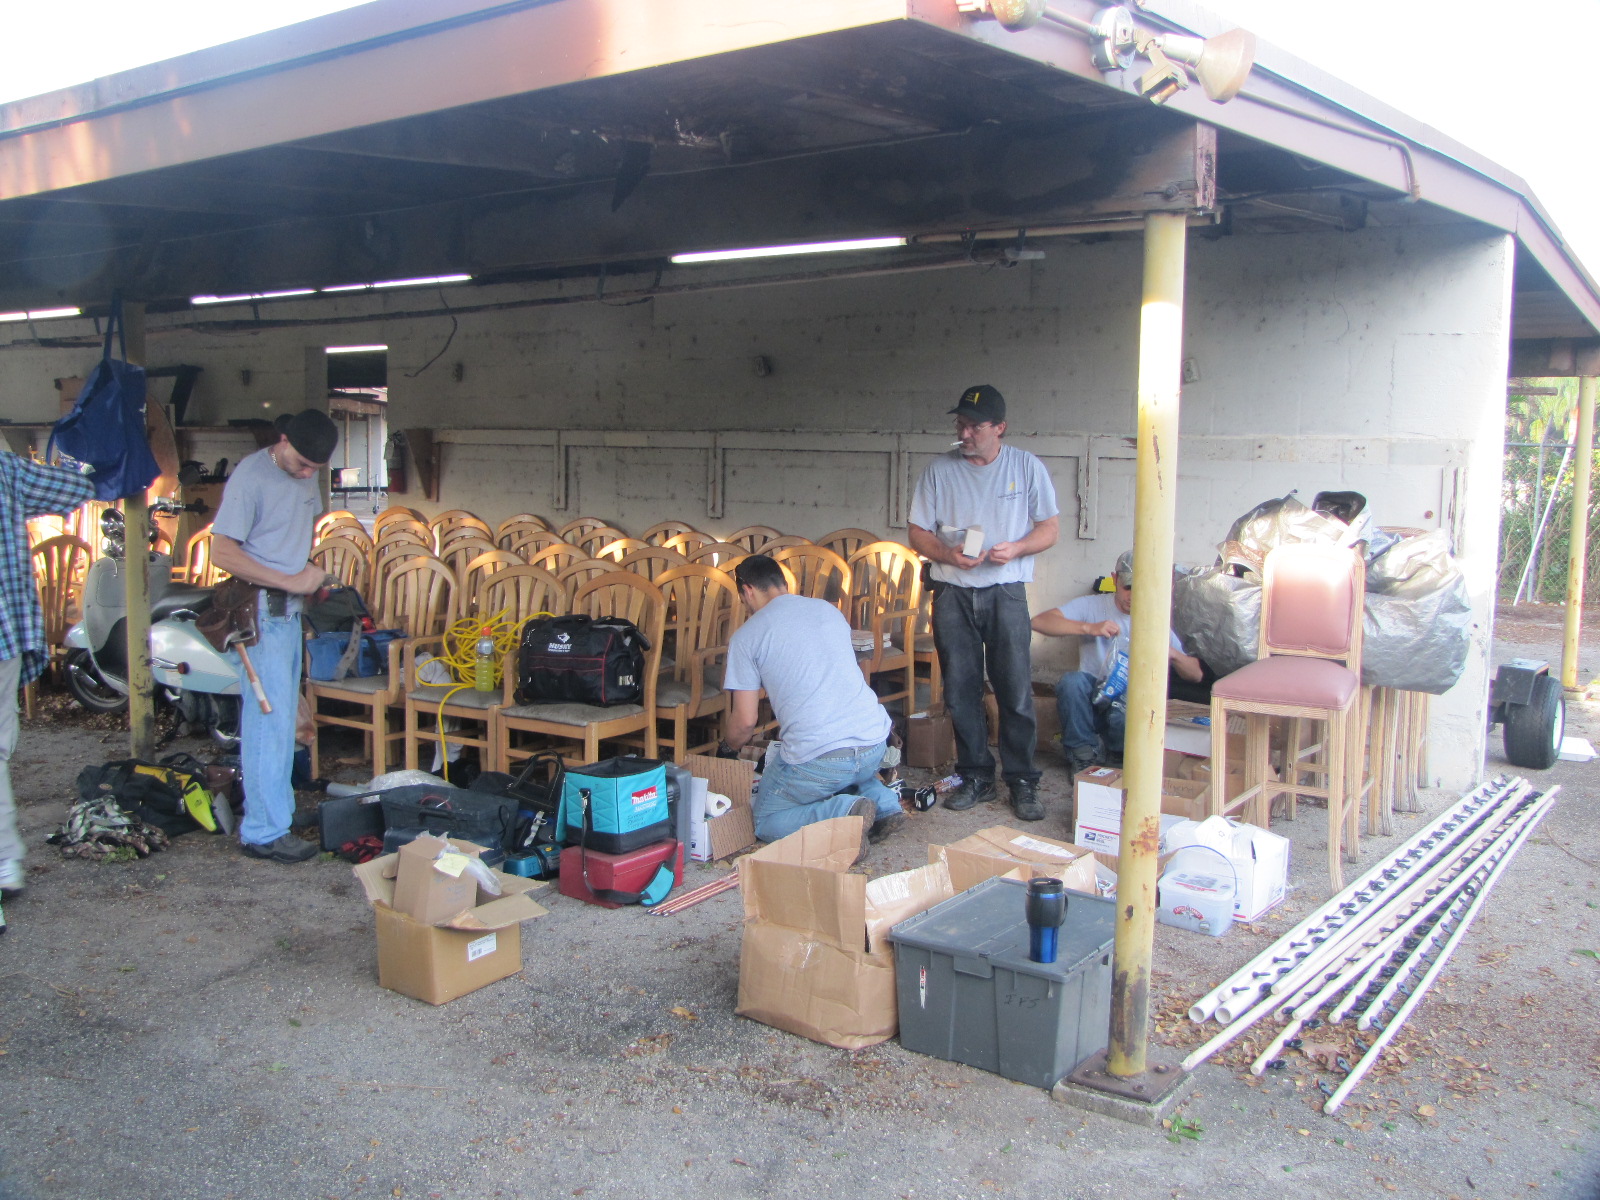
We built an electrified perimeter security defense system – a Fence Hawk Plus system – for a country club in South Florida. Thieves were cutting through the fence at night and stealing batteries and other parts from the golf carts.
The theft had gotten so bad that they had to hire full-time security just for the golf cart area. Even with a guard, they were still having break-ins. When the Board ordered a couple hundred new golf carts, they decided that enough was enough, and they contracted with us to build them a Fence Hawk Plus system.
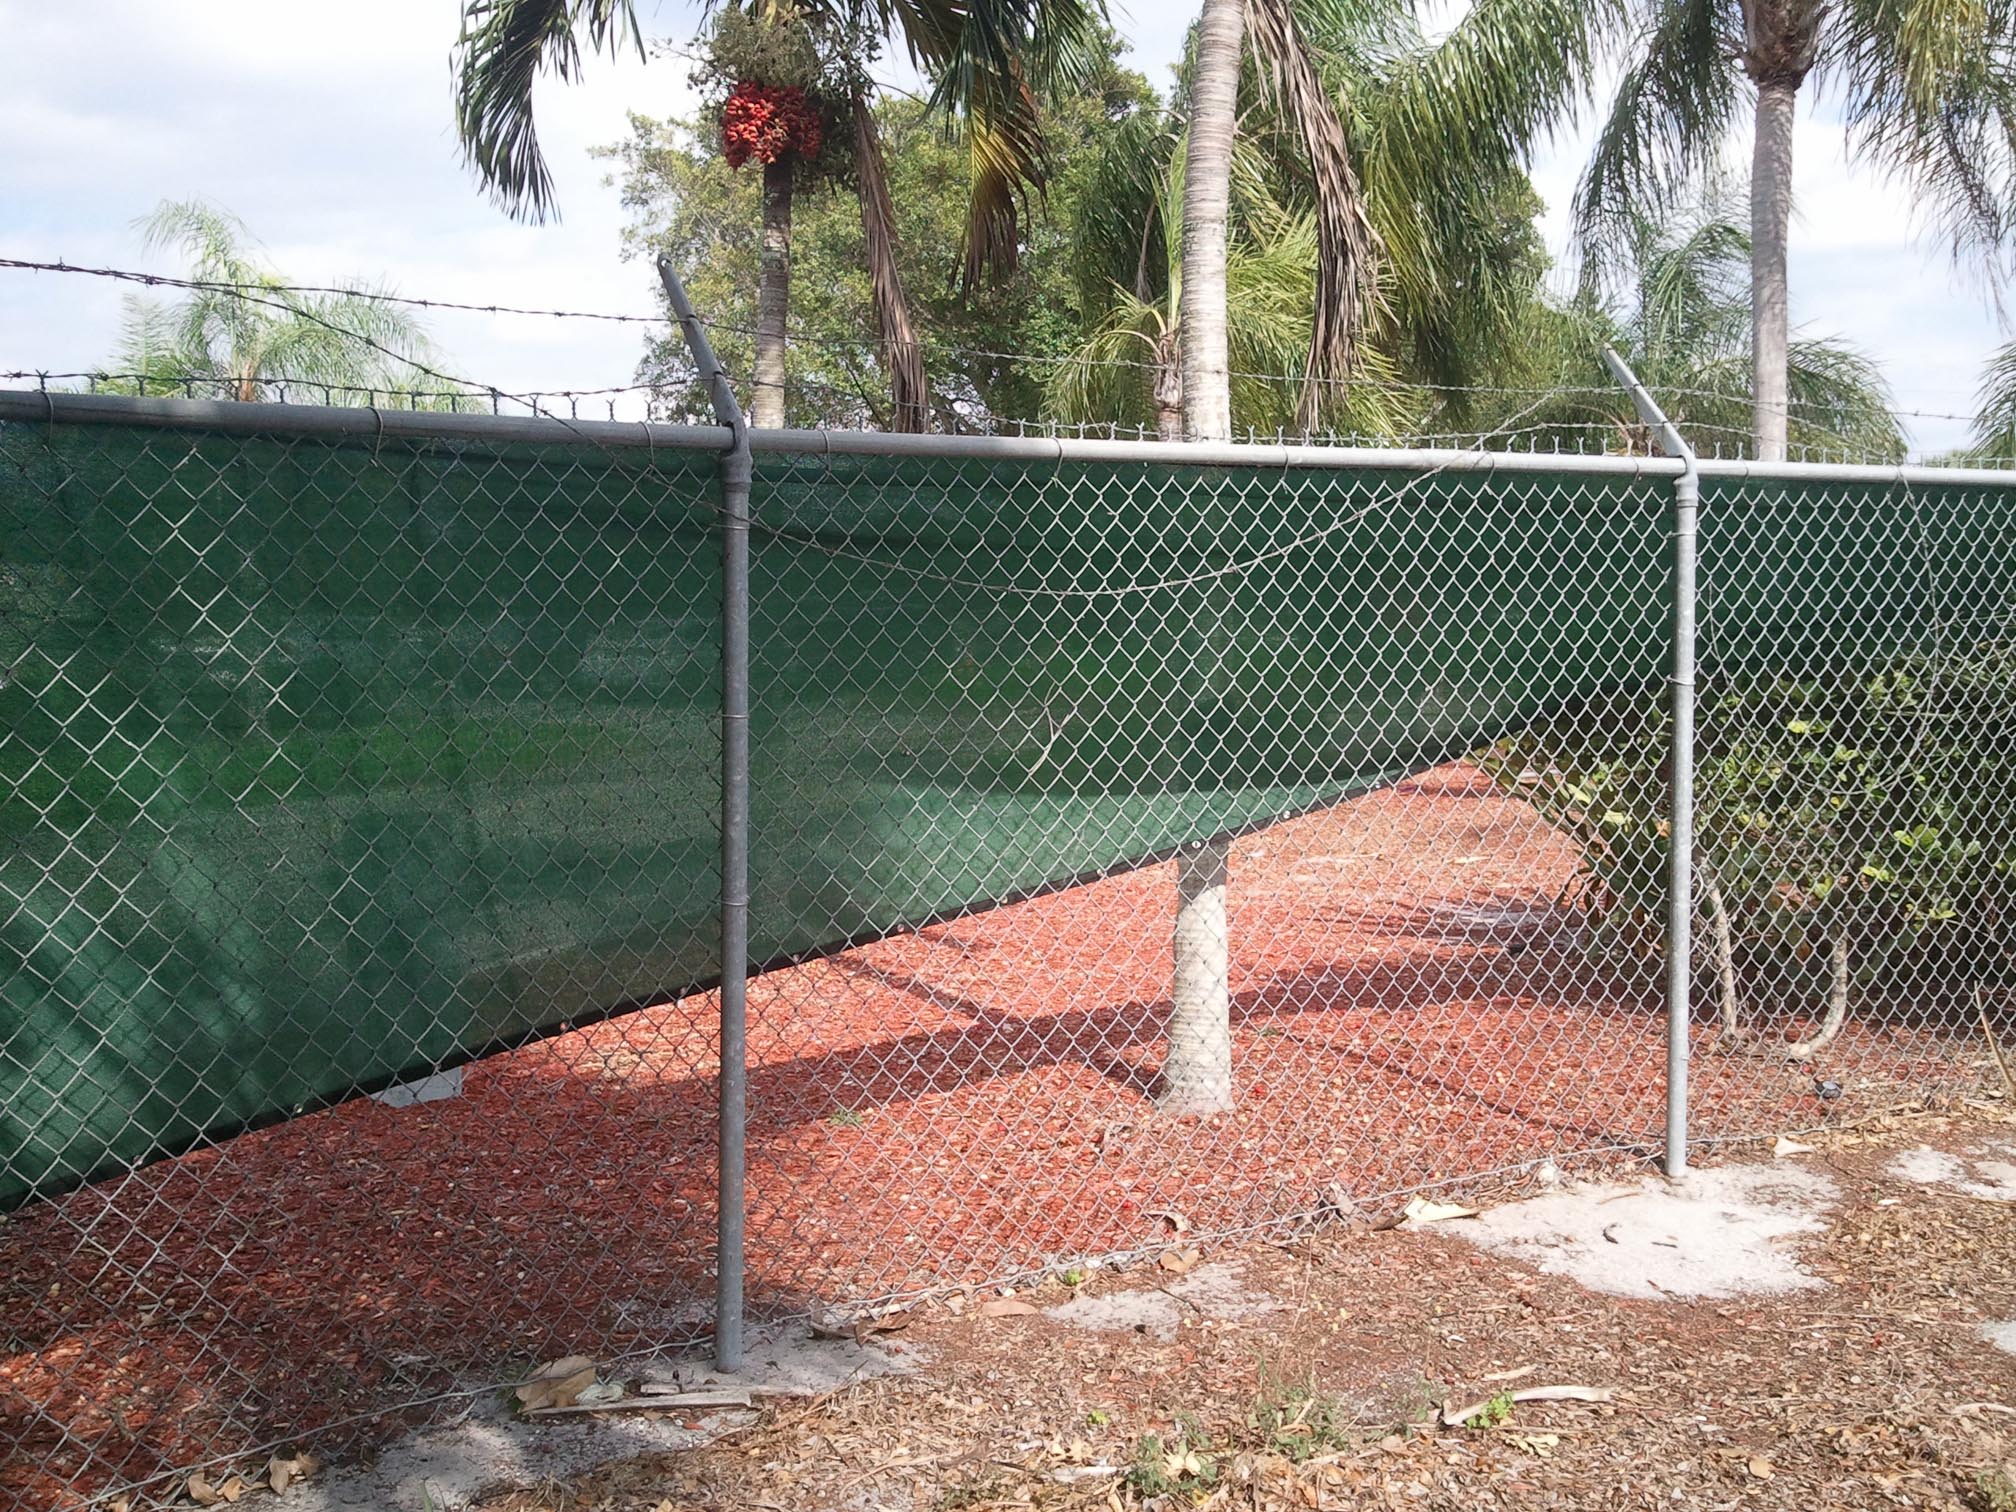
You’ll notice in the following before-and-after photos that we could only build the security fence six feet high, due to zoning restrictions. Once again, a local government put public opinion ahead of self protection.
Still, the Board and the management believed that a six foot fence would be protection enough, because the thieves were coming through the fence, not over it, and because most of what the thieves were stealing was pretty heavy – too heavy for one person to lift over their head.
We’ll post an update on how this six foot electrified security fence works out over the coming months and years. As of this writing, 5 weeks after the fence was completed, they have had no thefts or break ins. The intimidating appearance and warning signs, alone, are enough to keep most thieves out.
Clicking on a photo brings up the high resolution version.
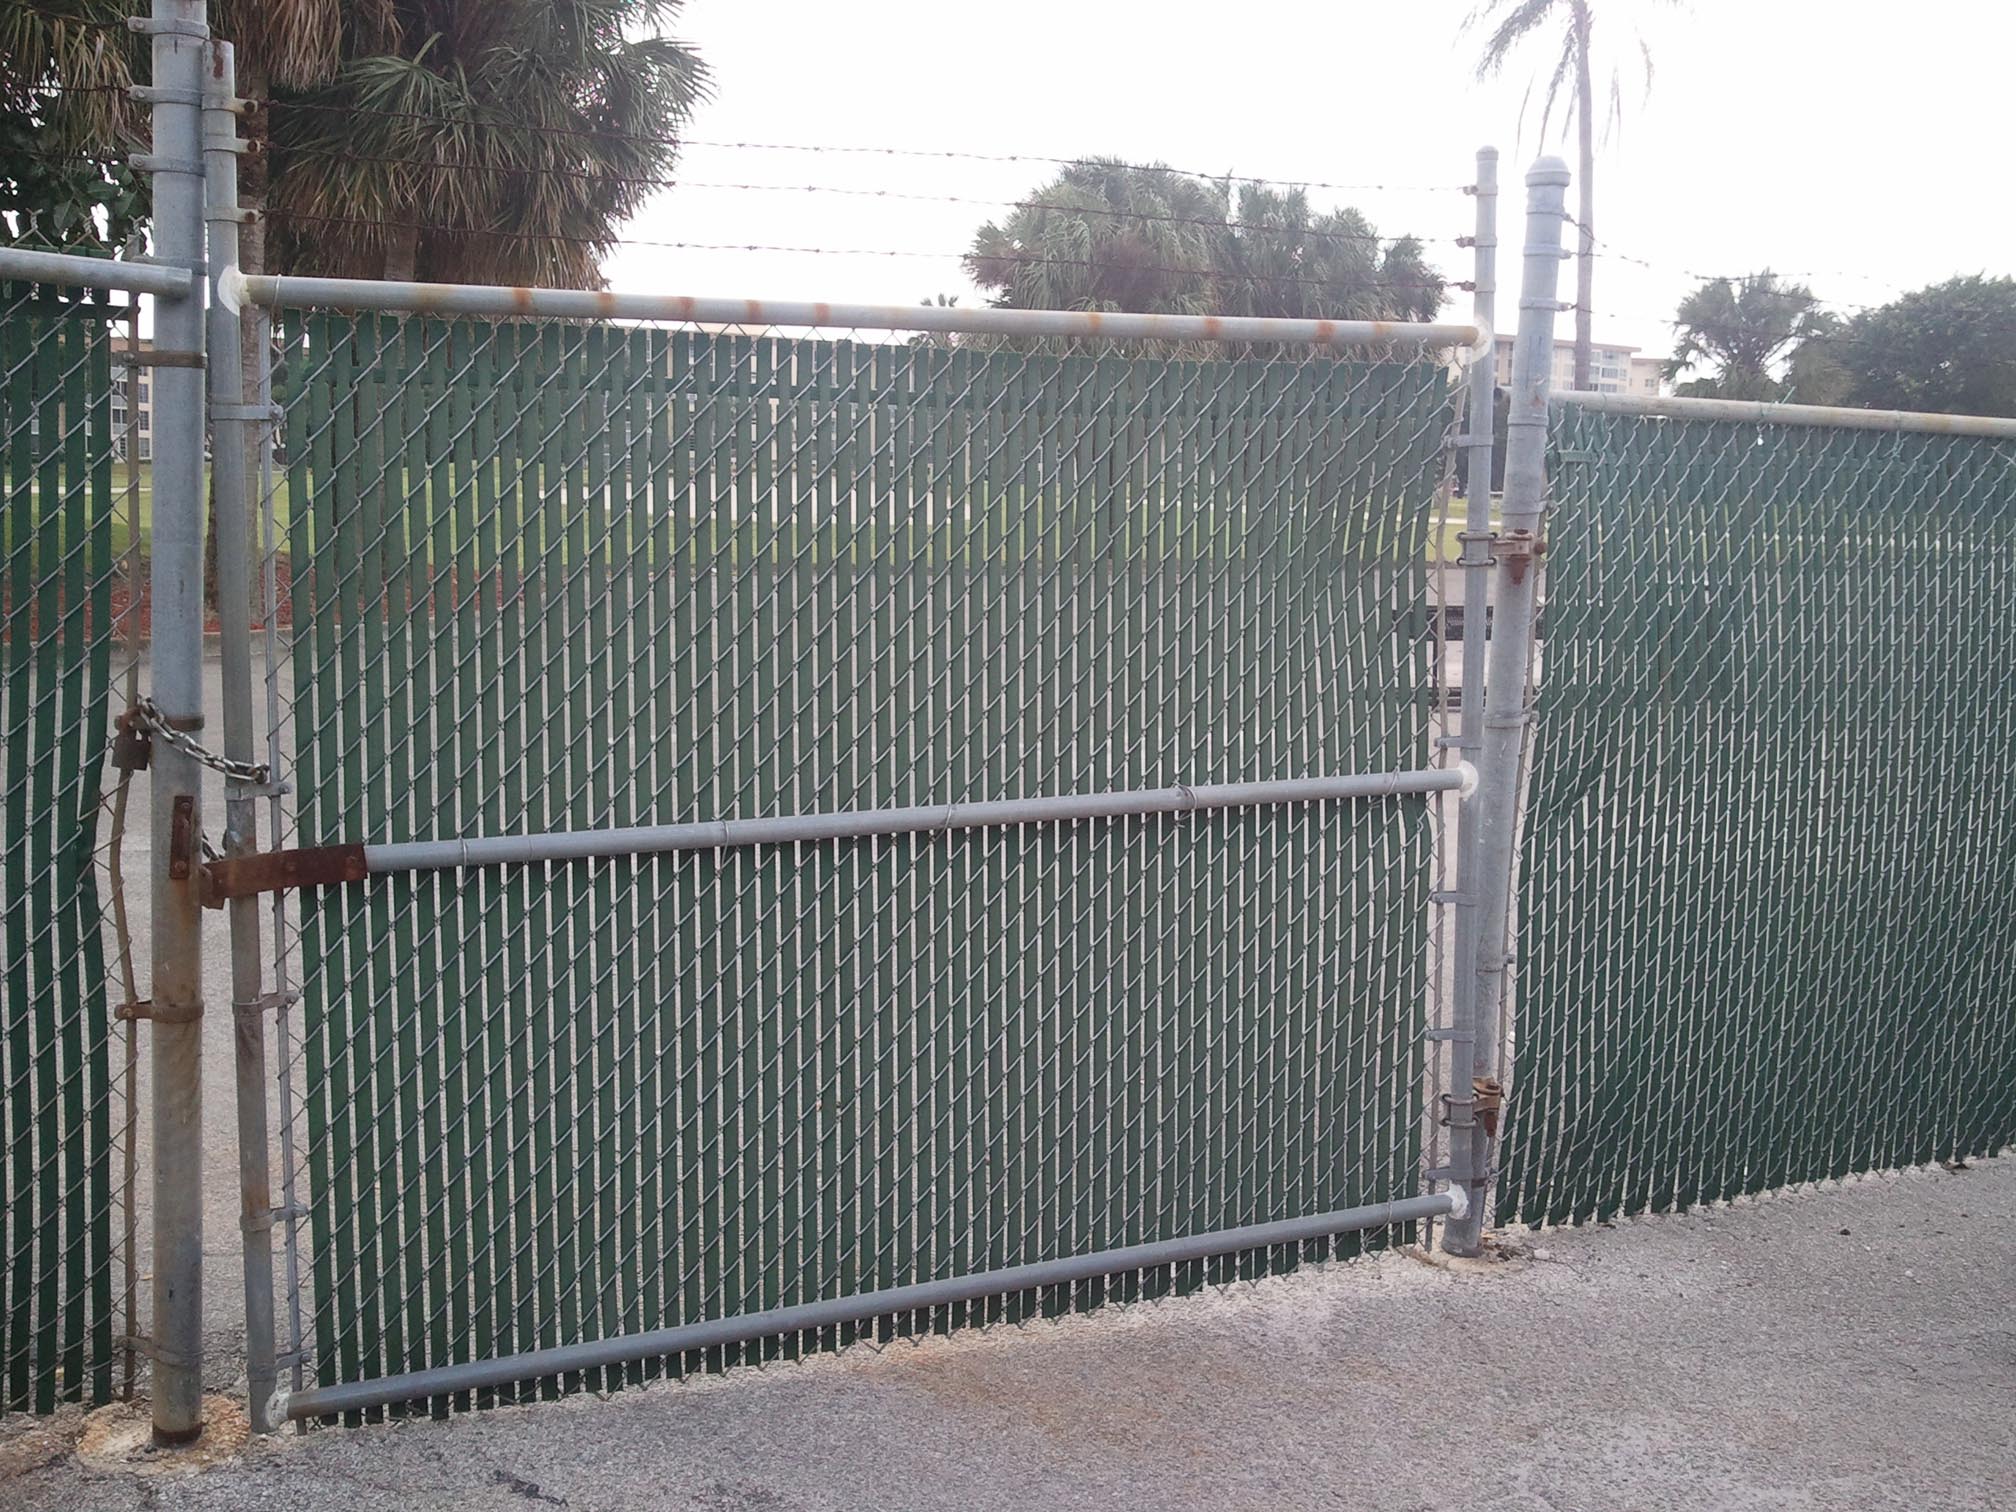
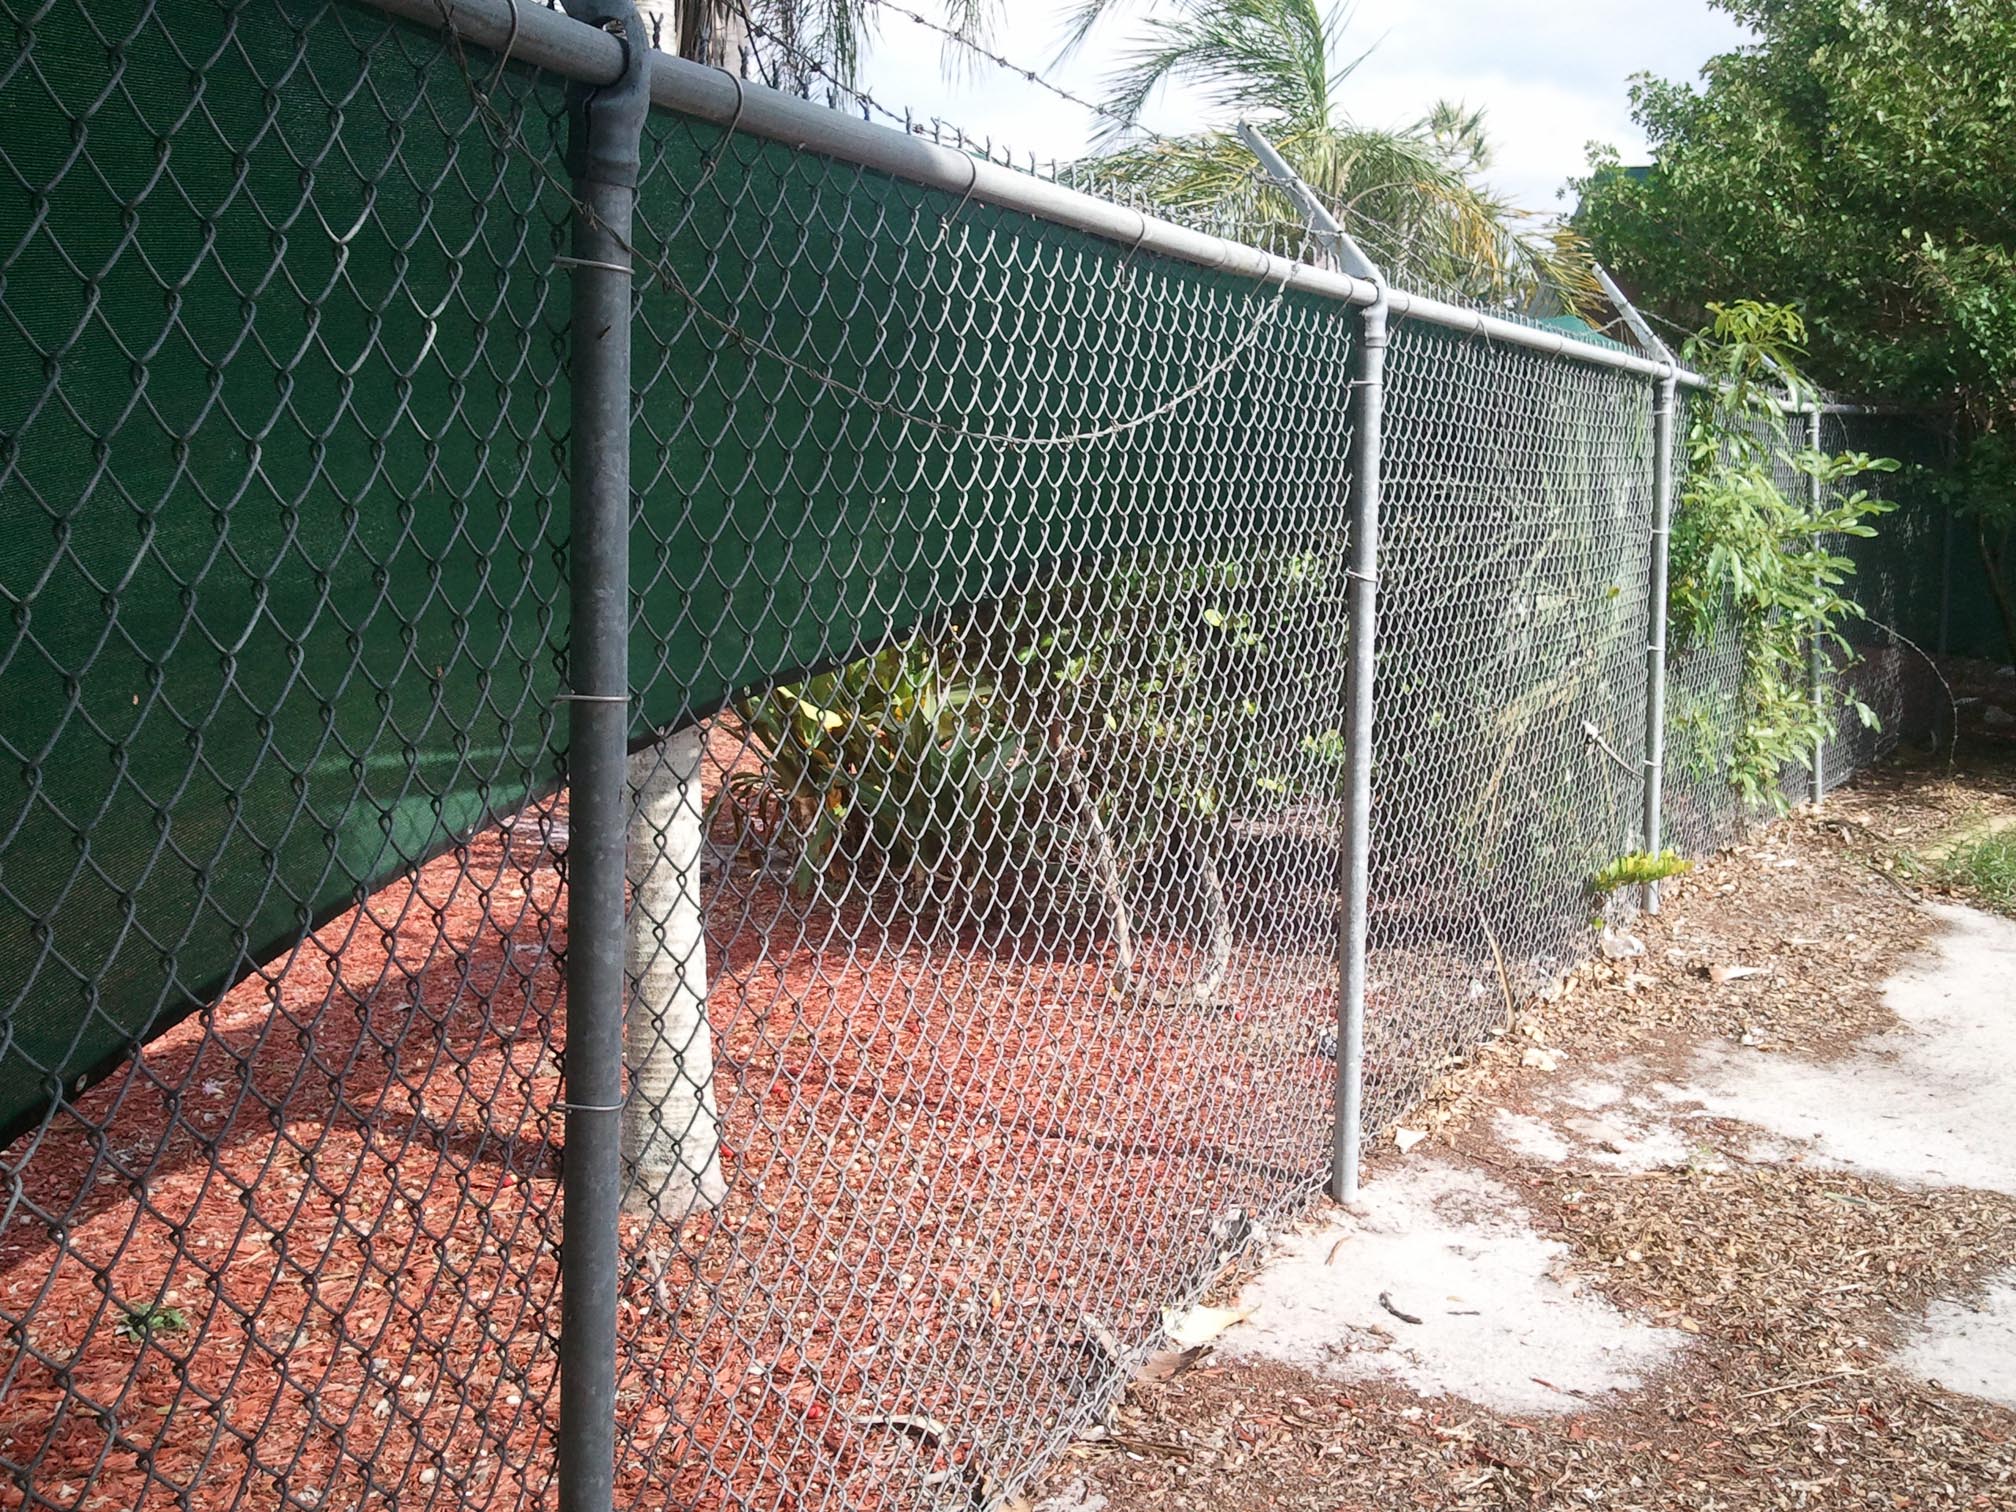
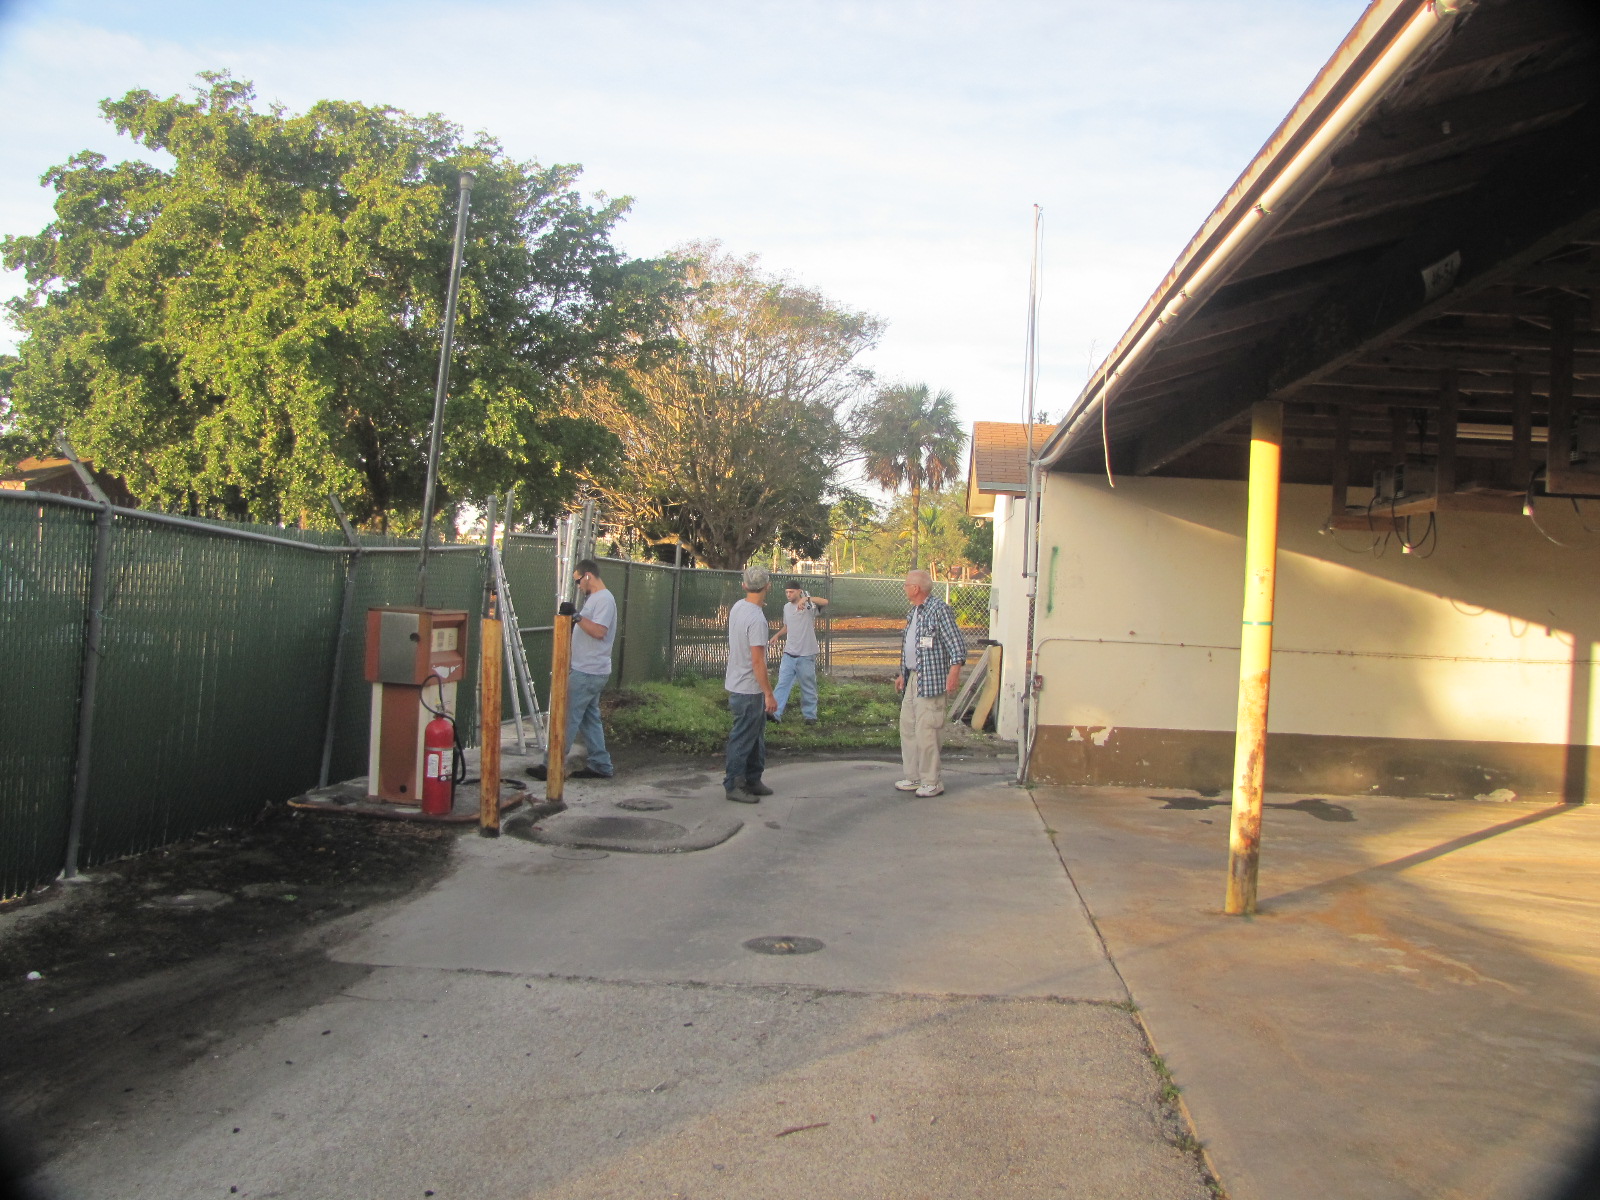
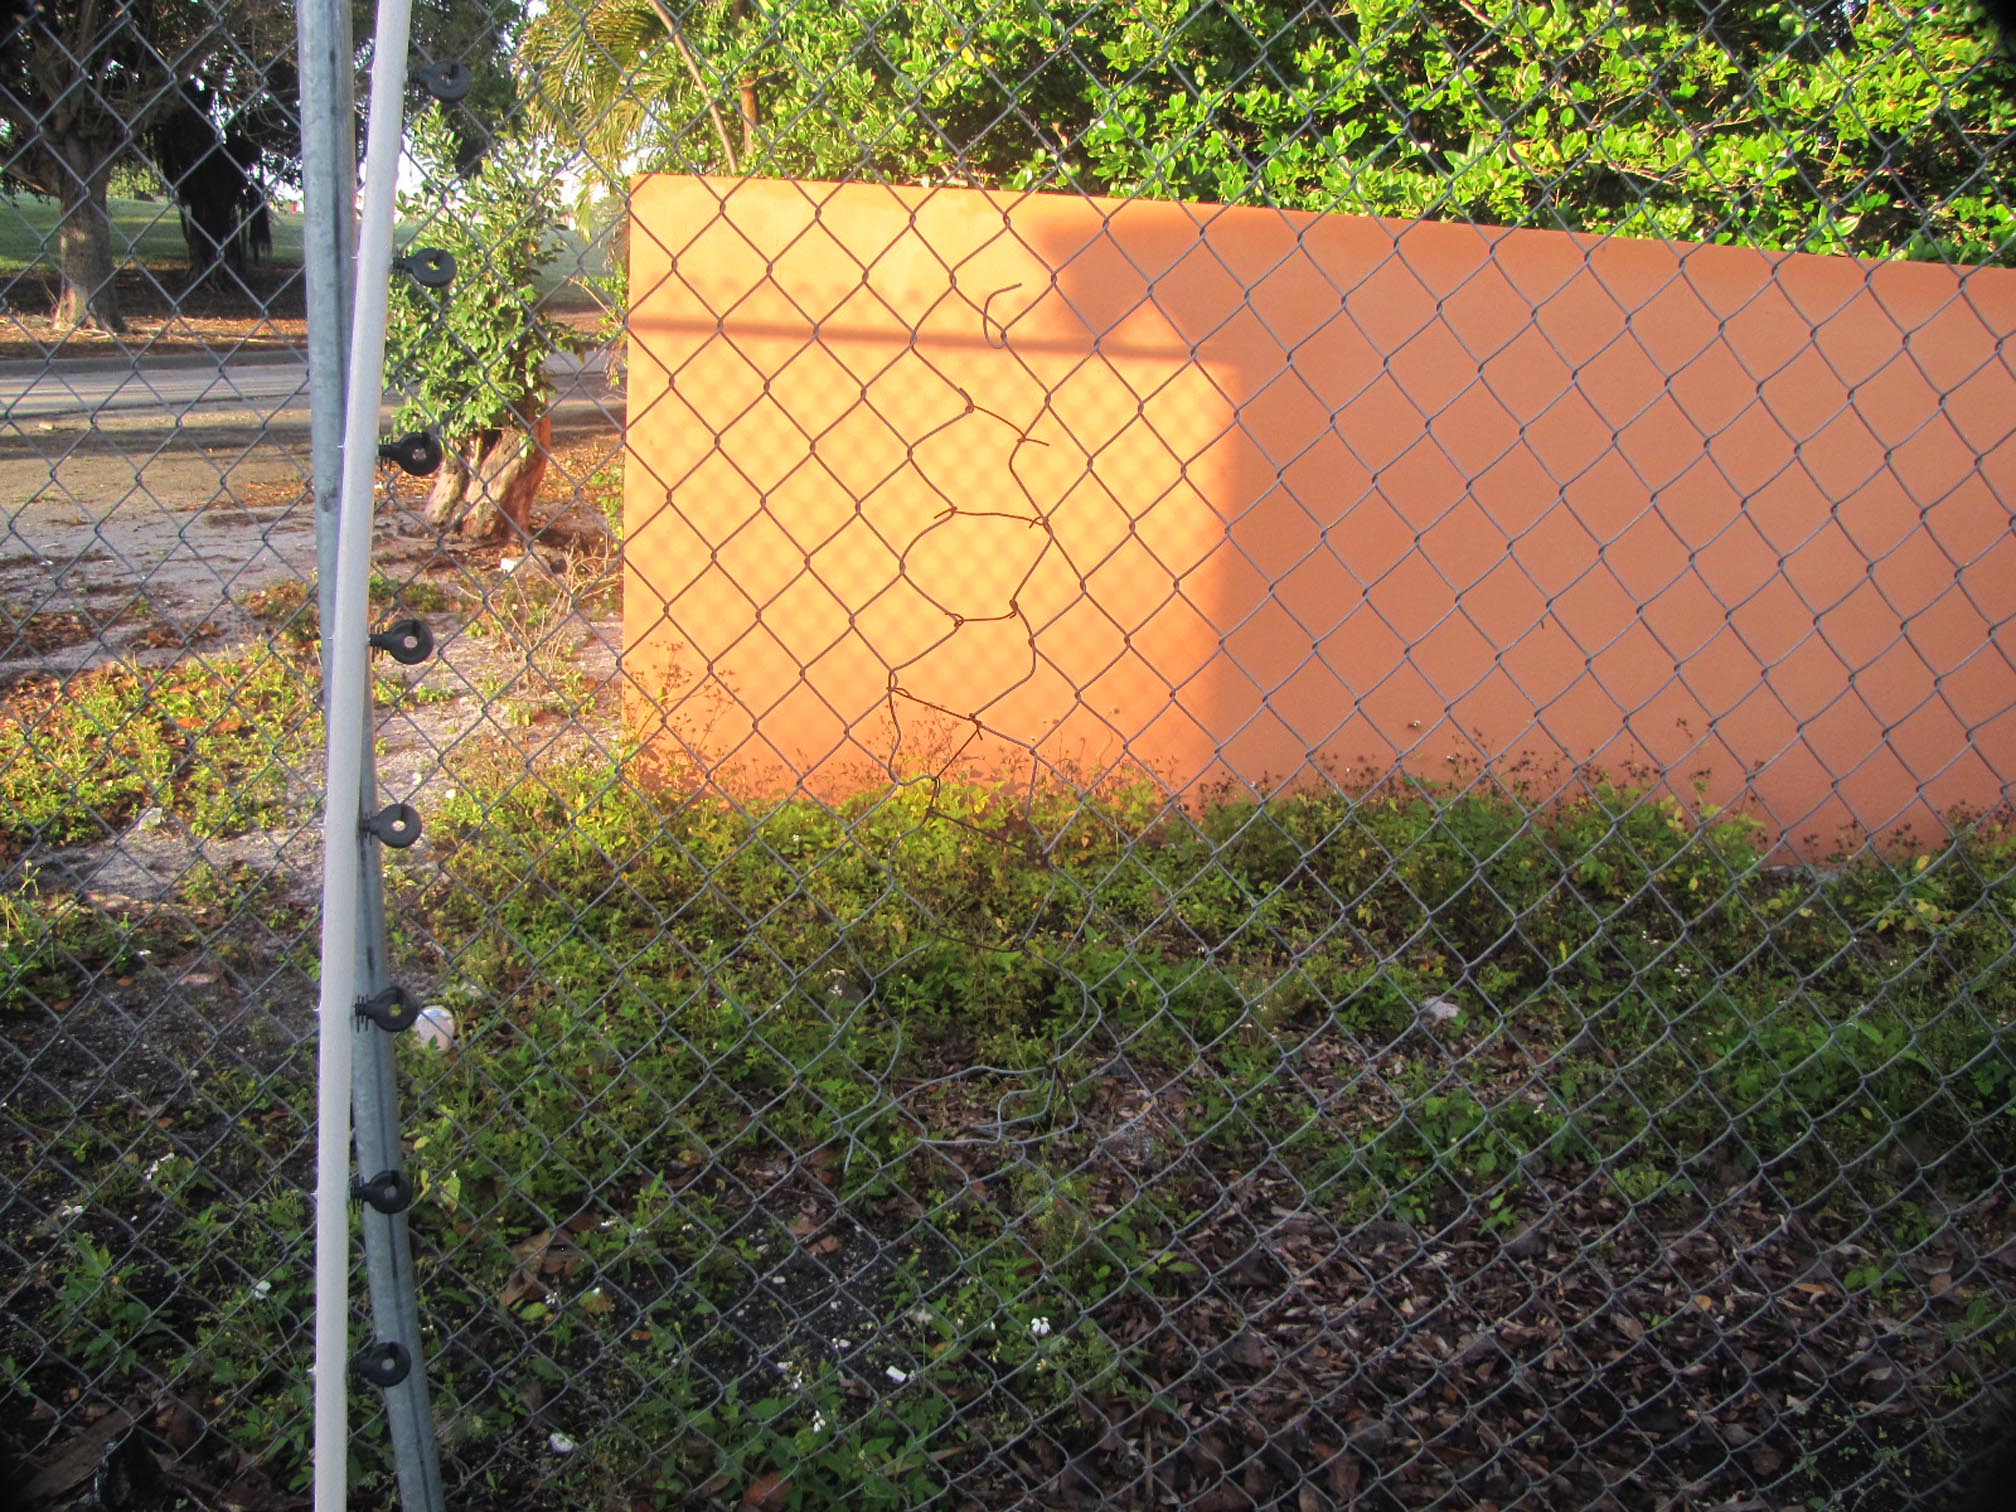
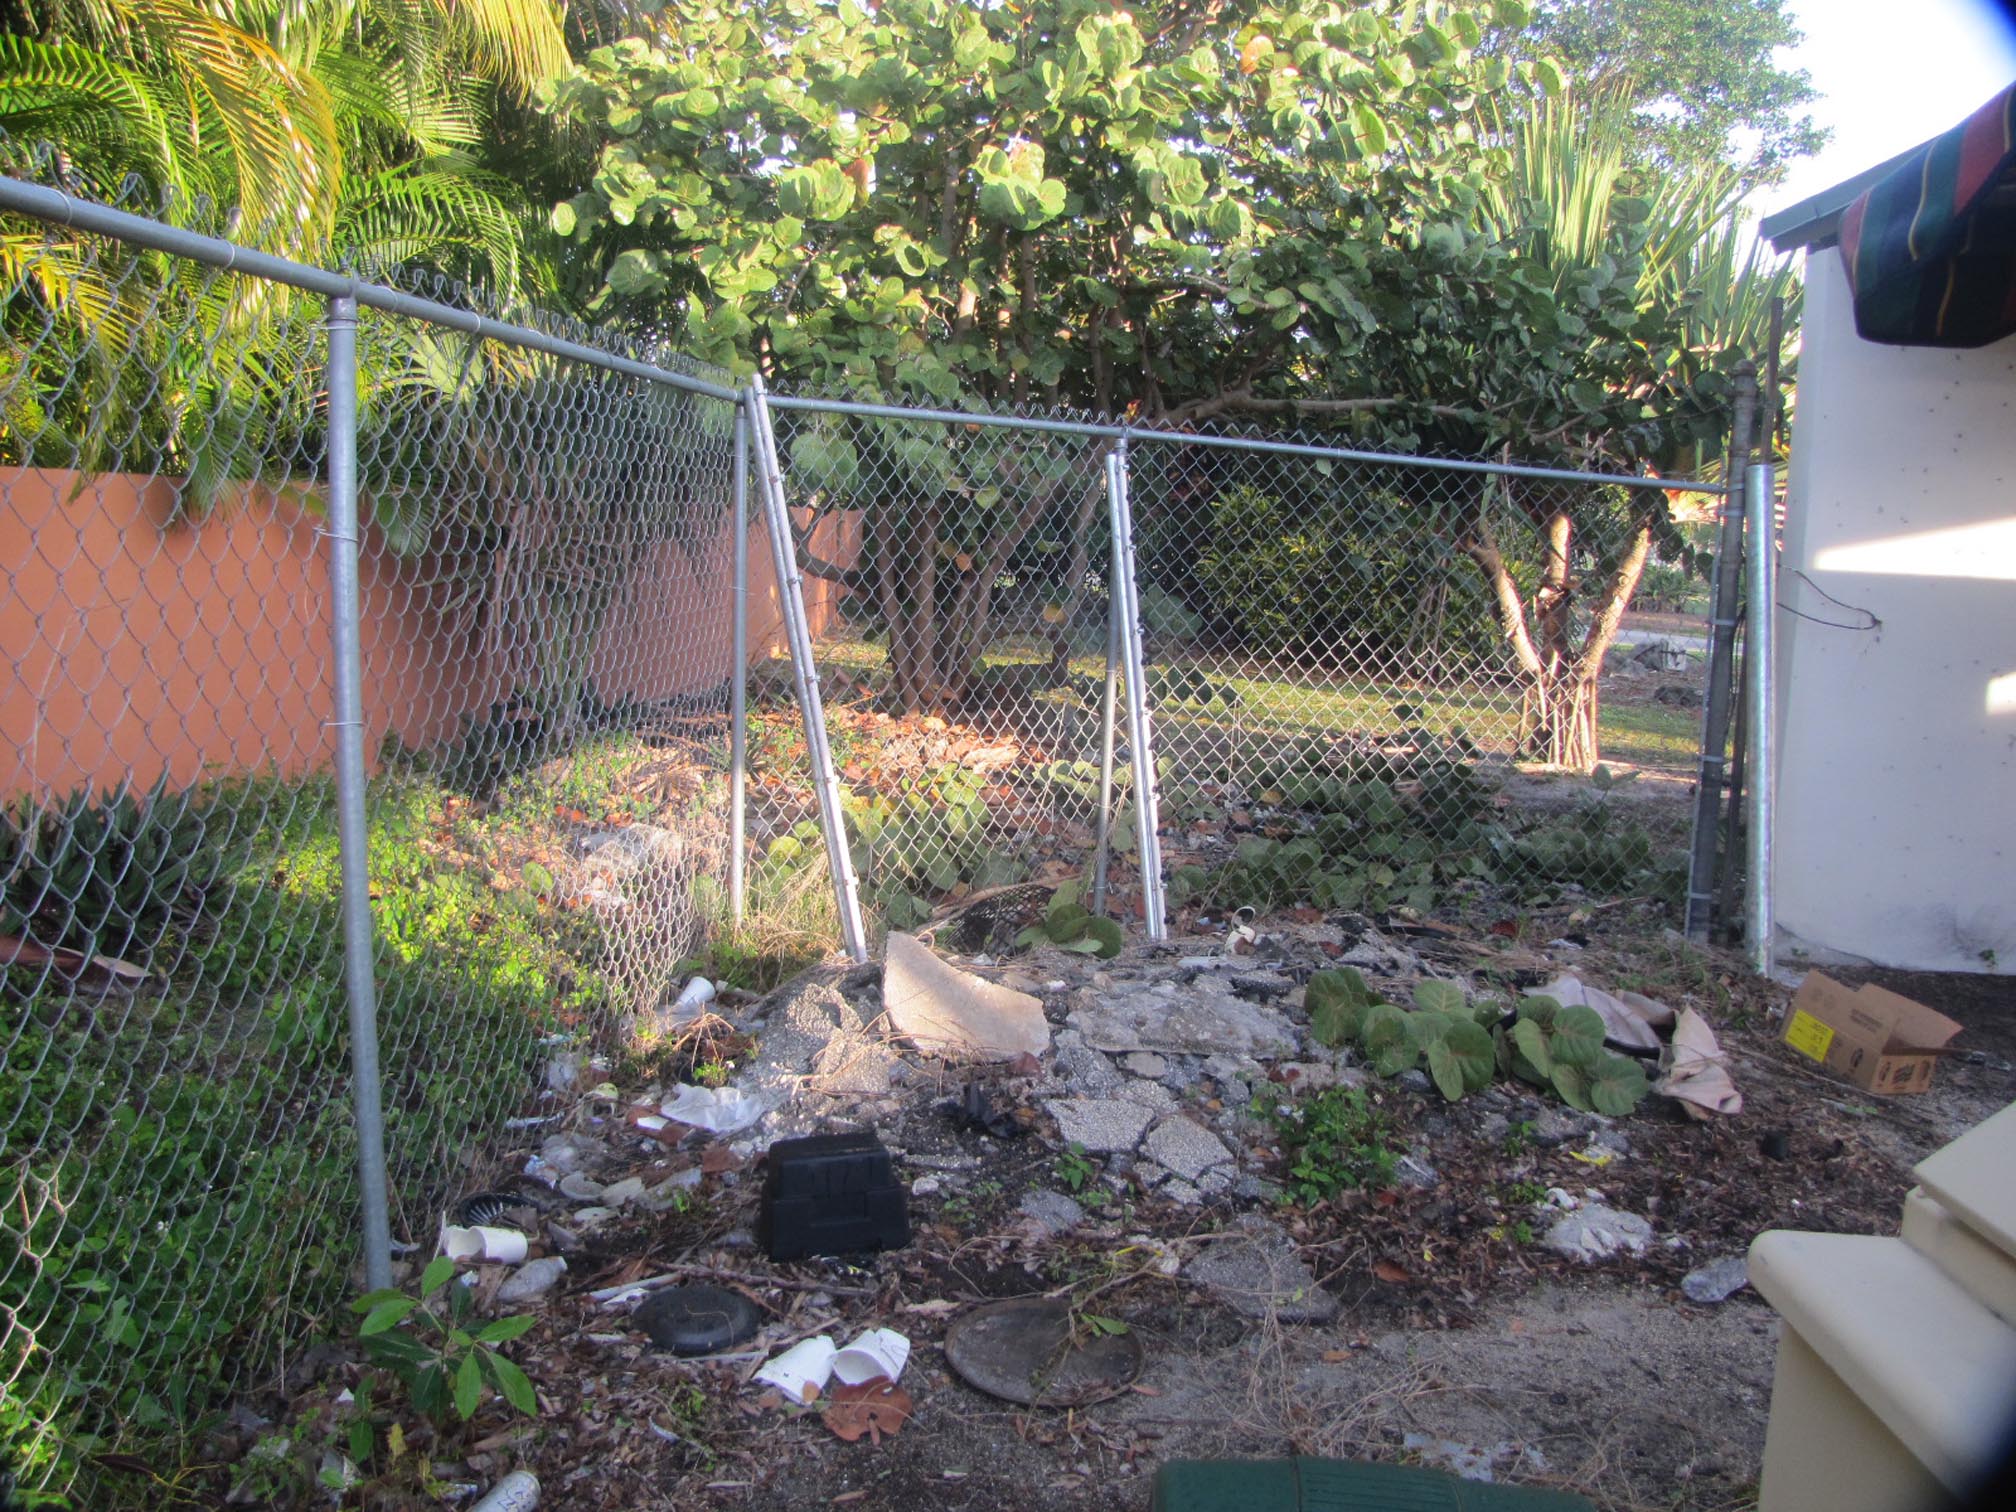
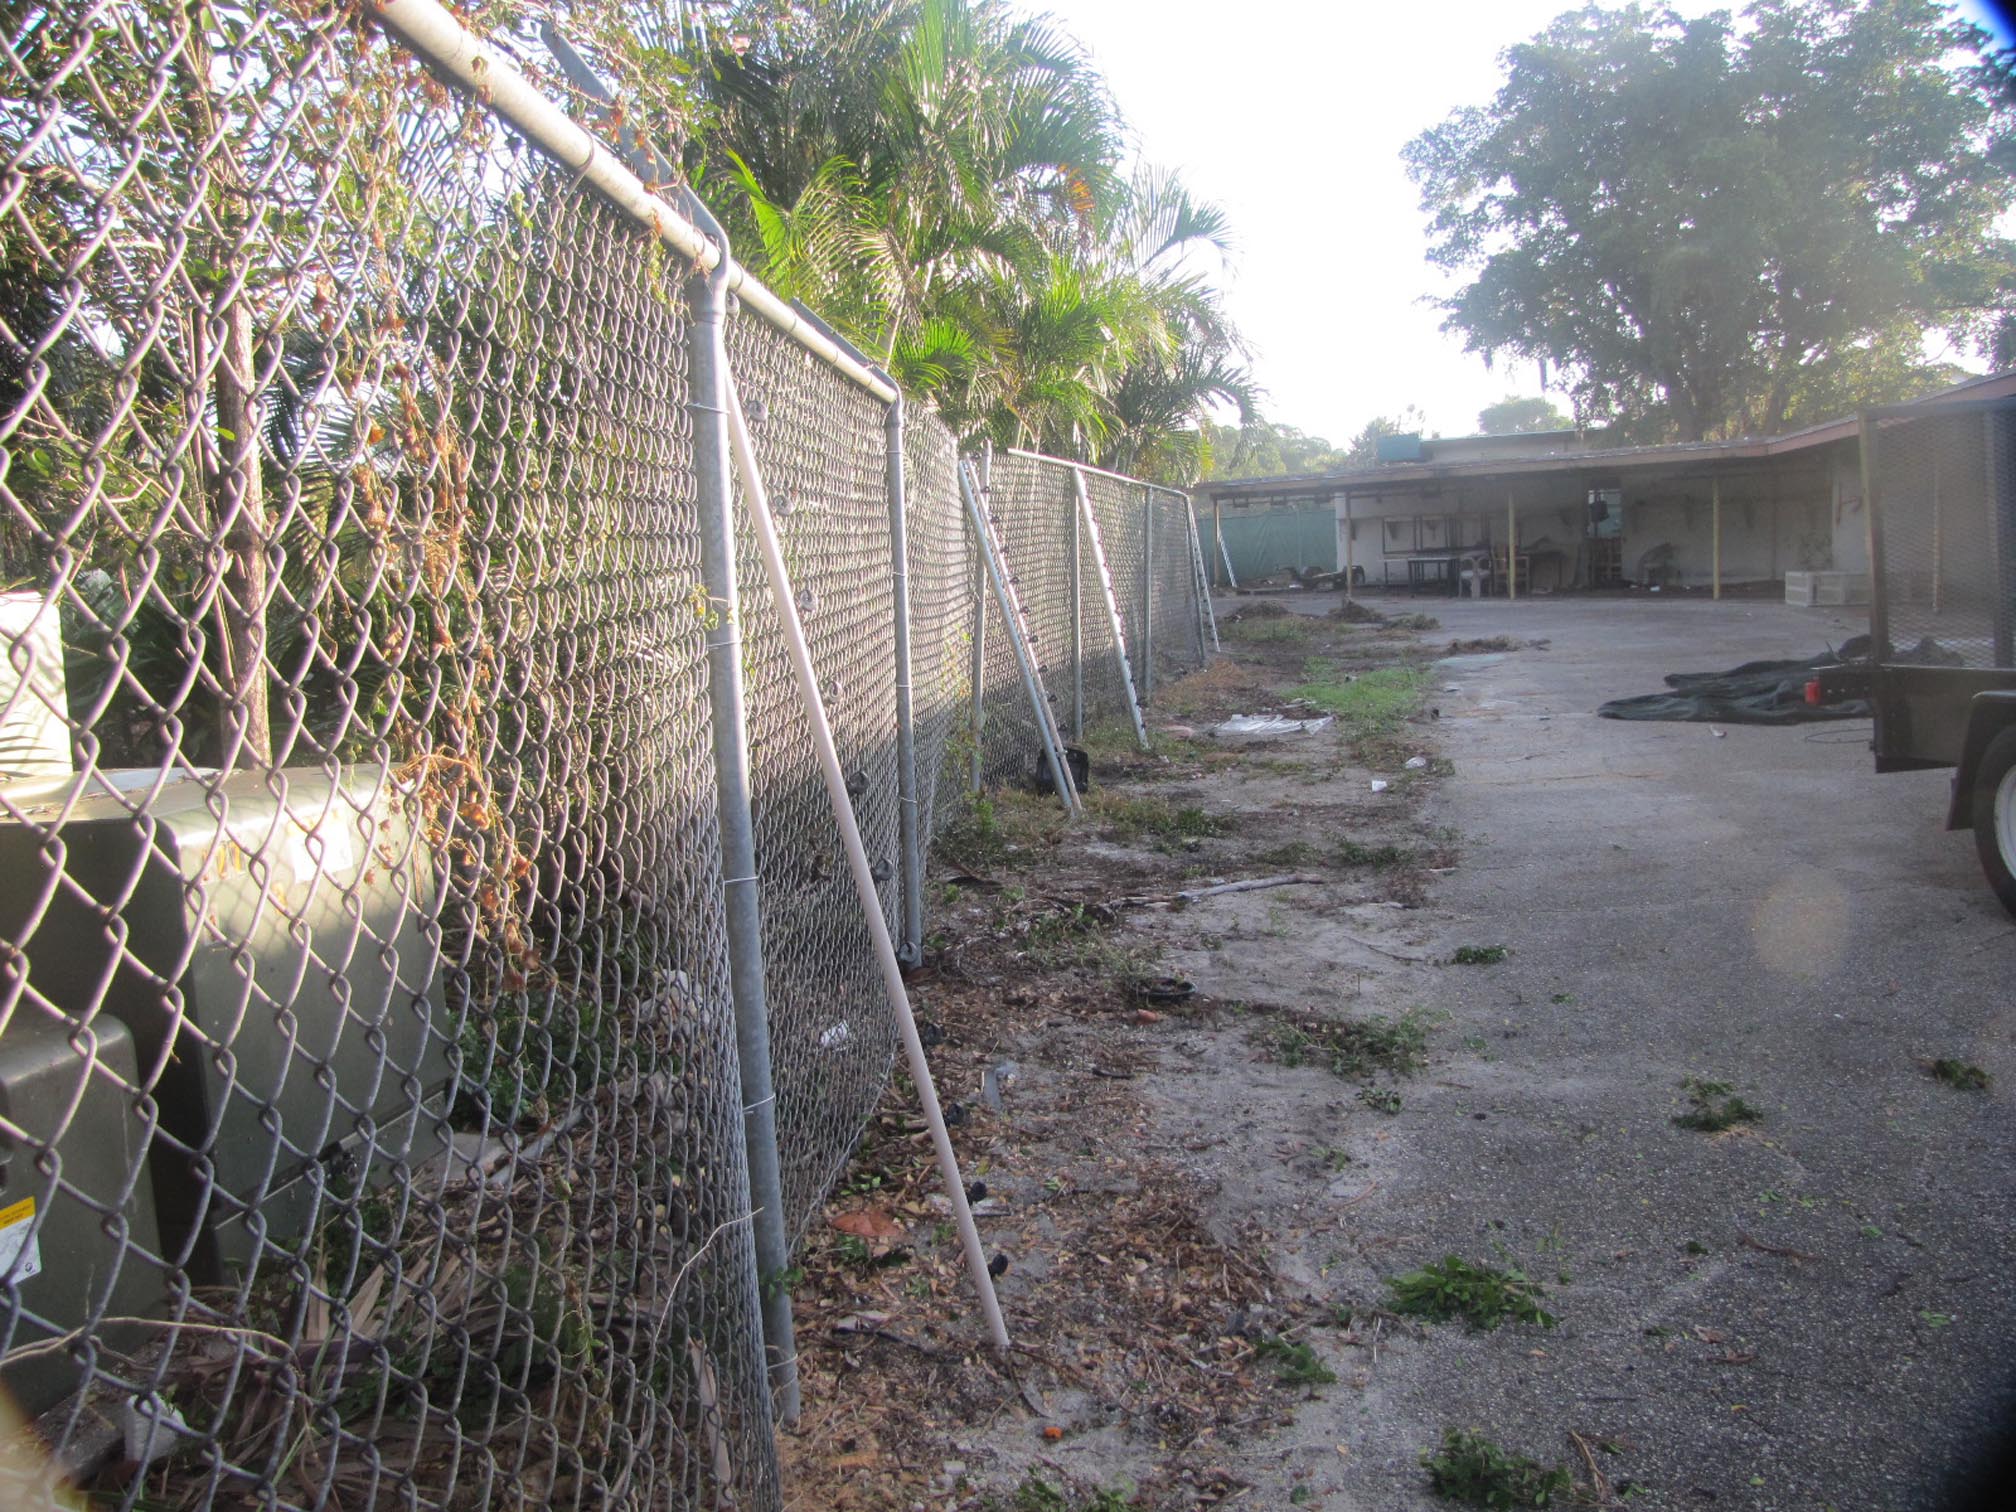
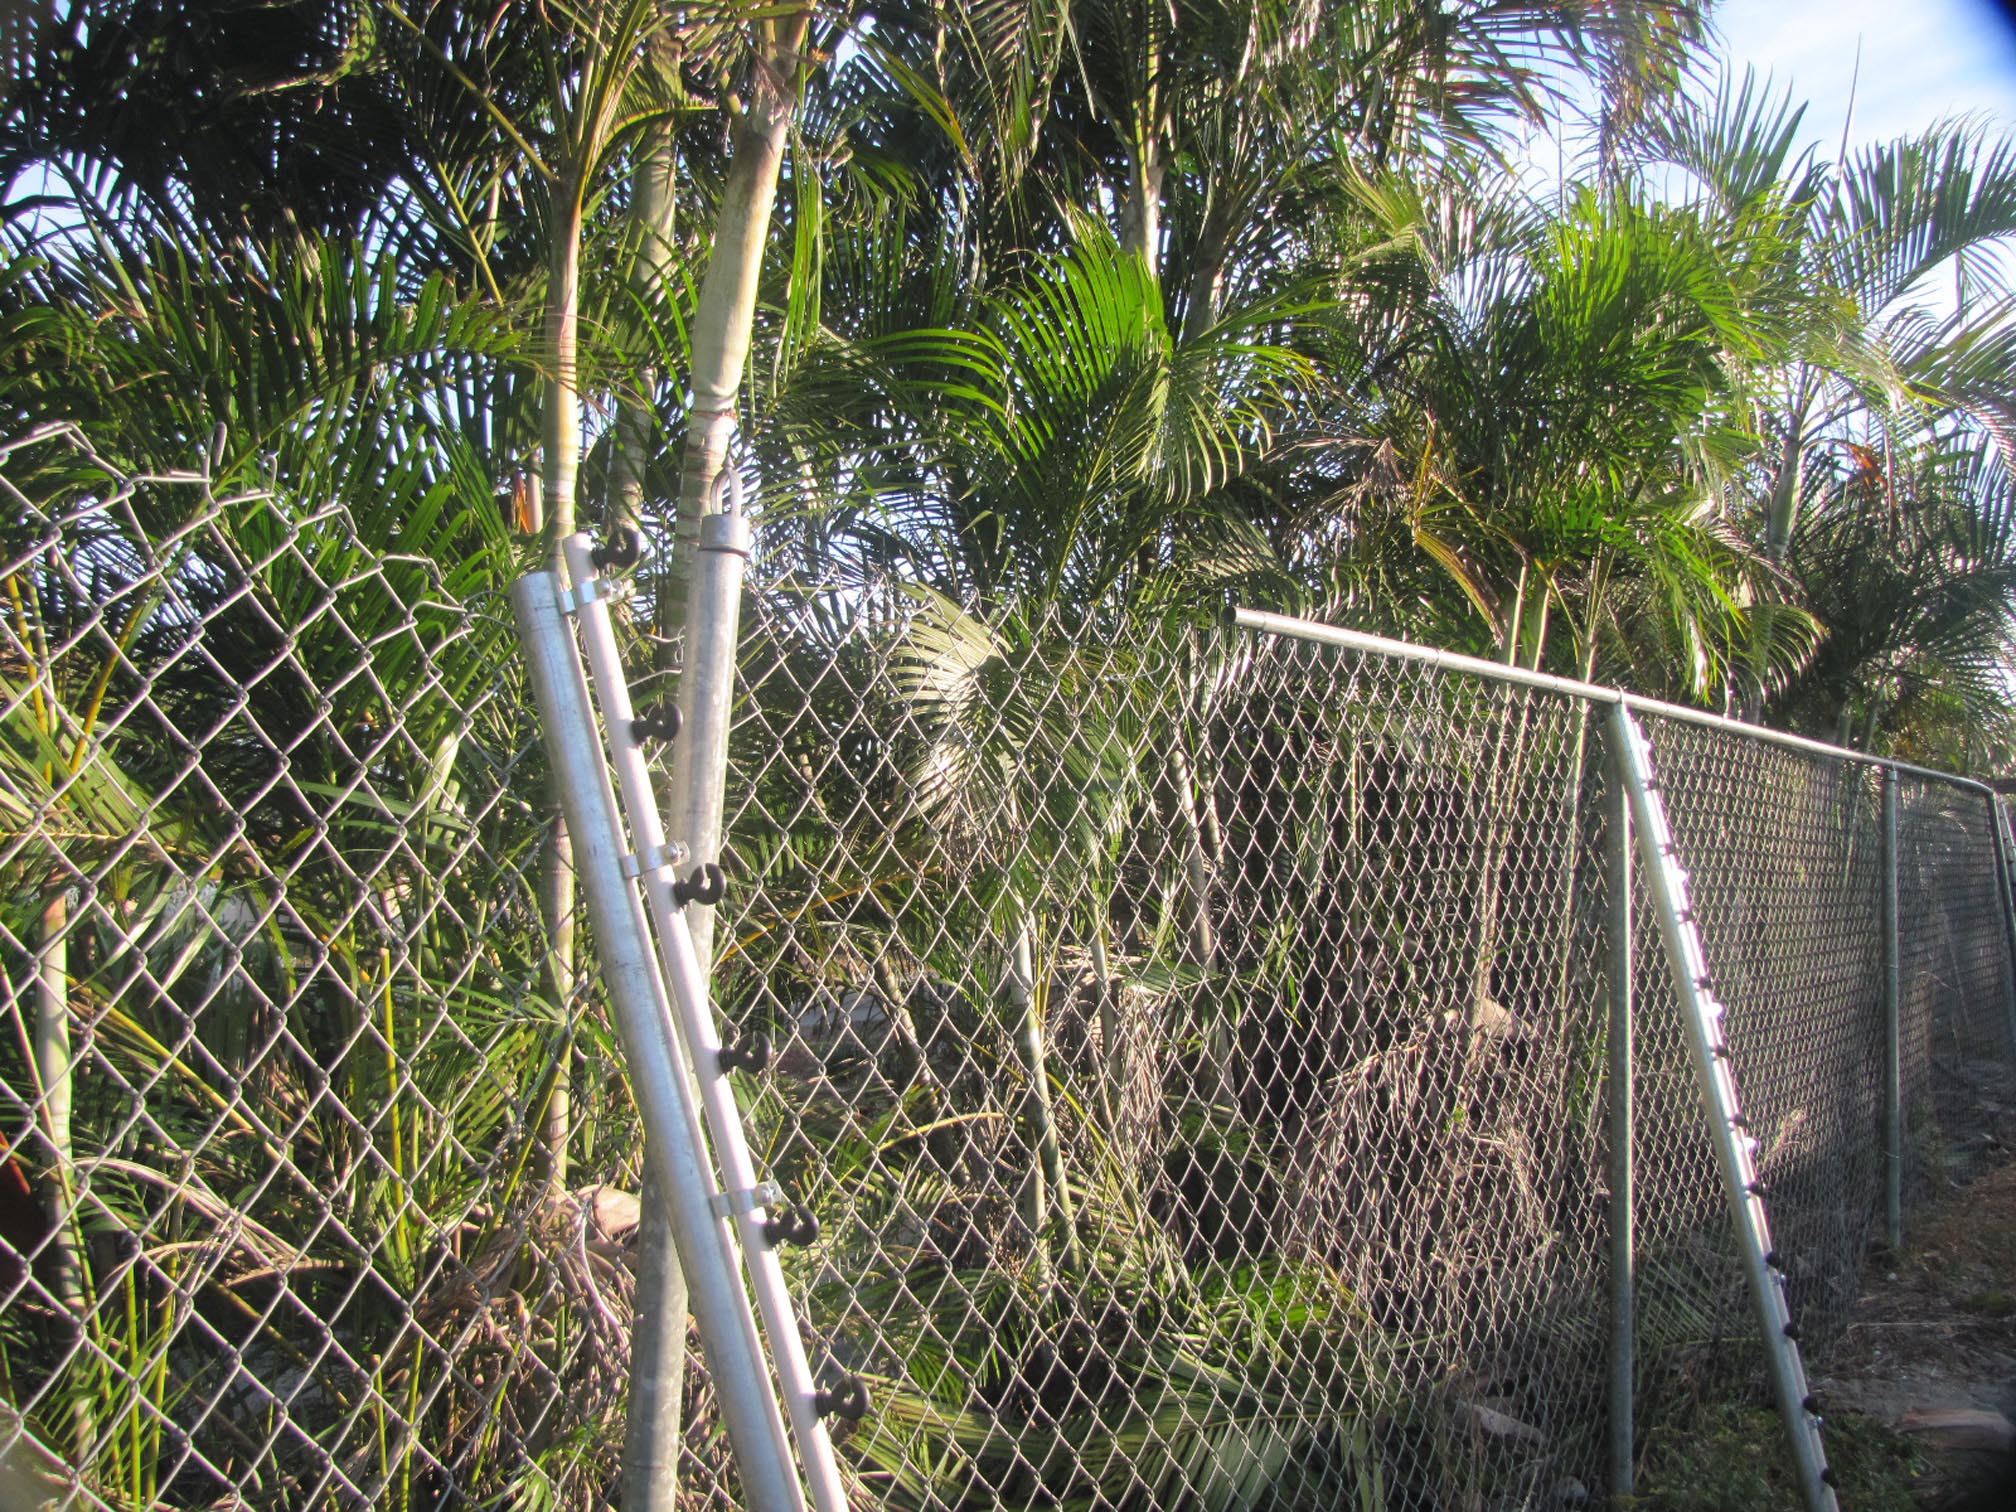
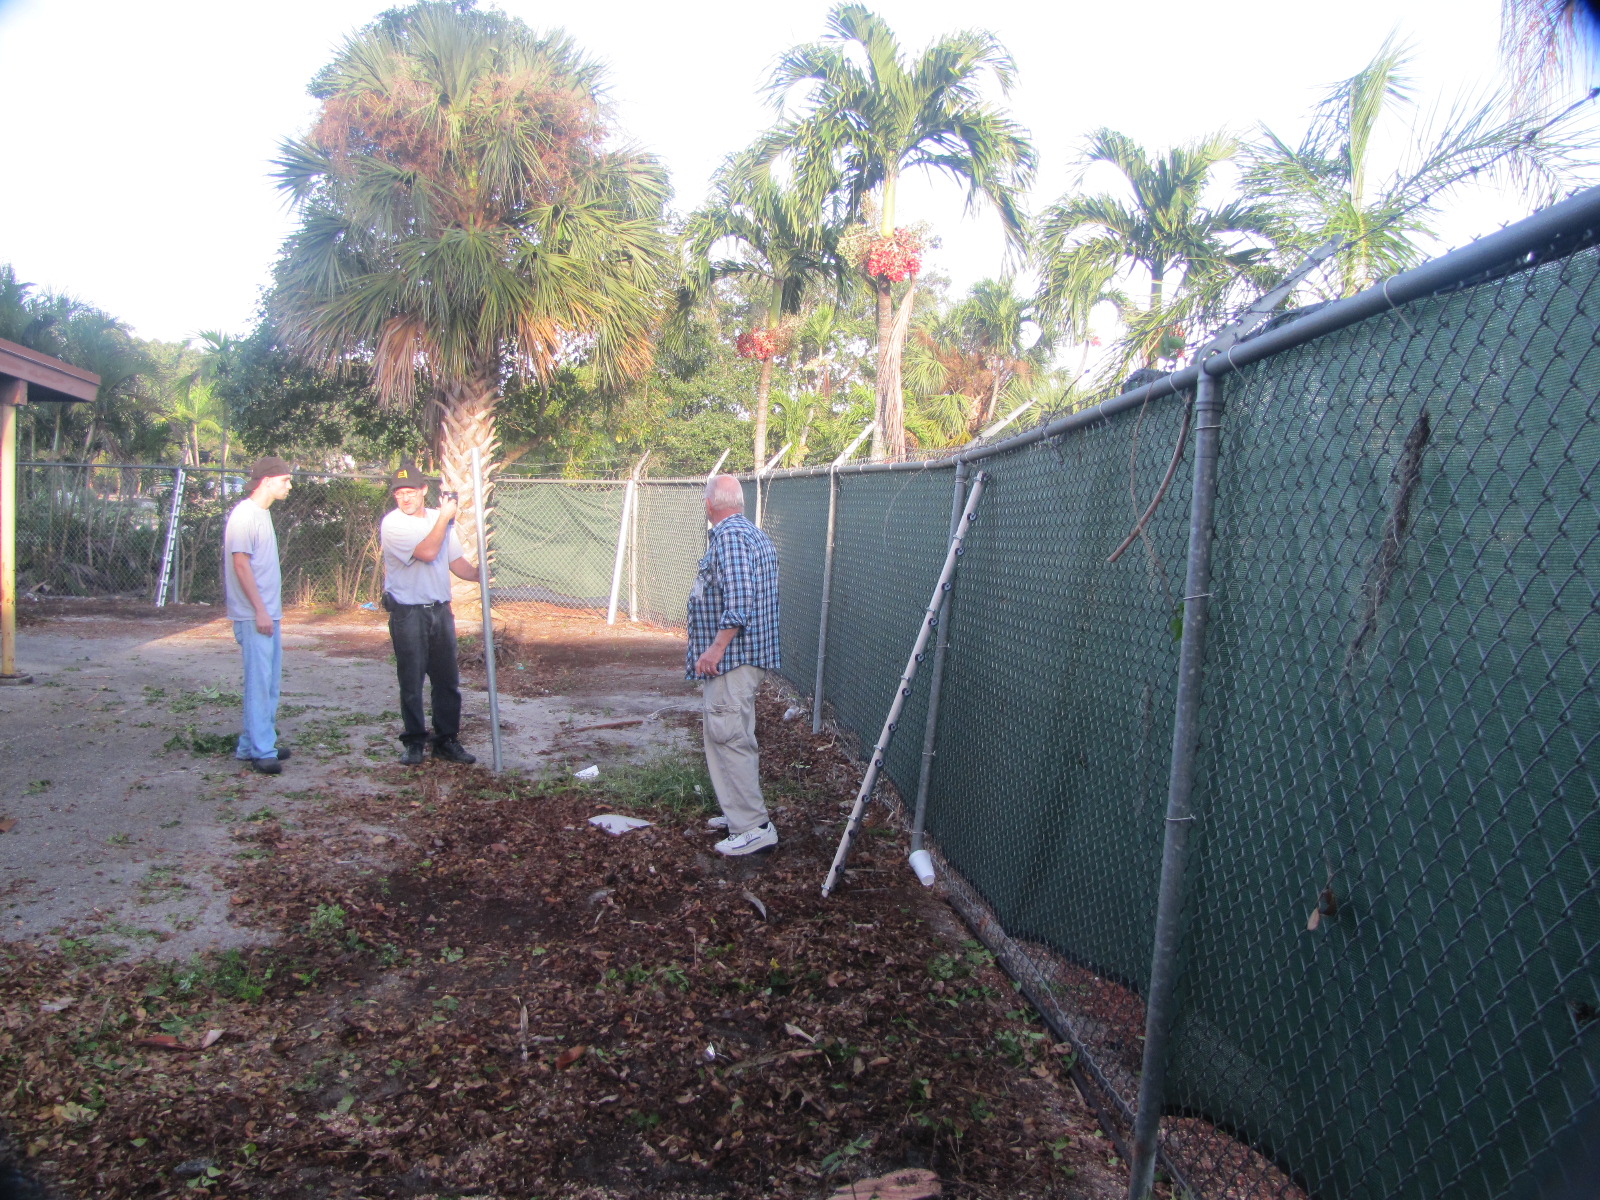
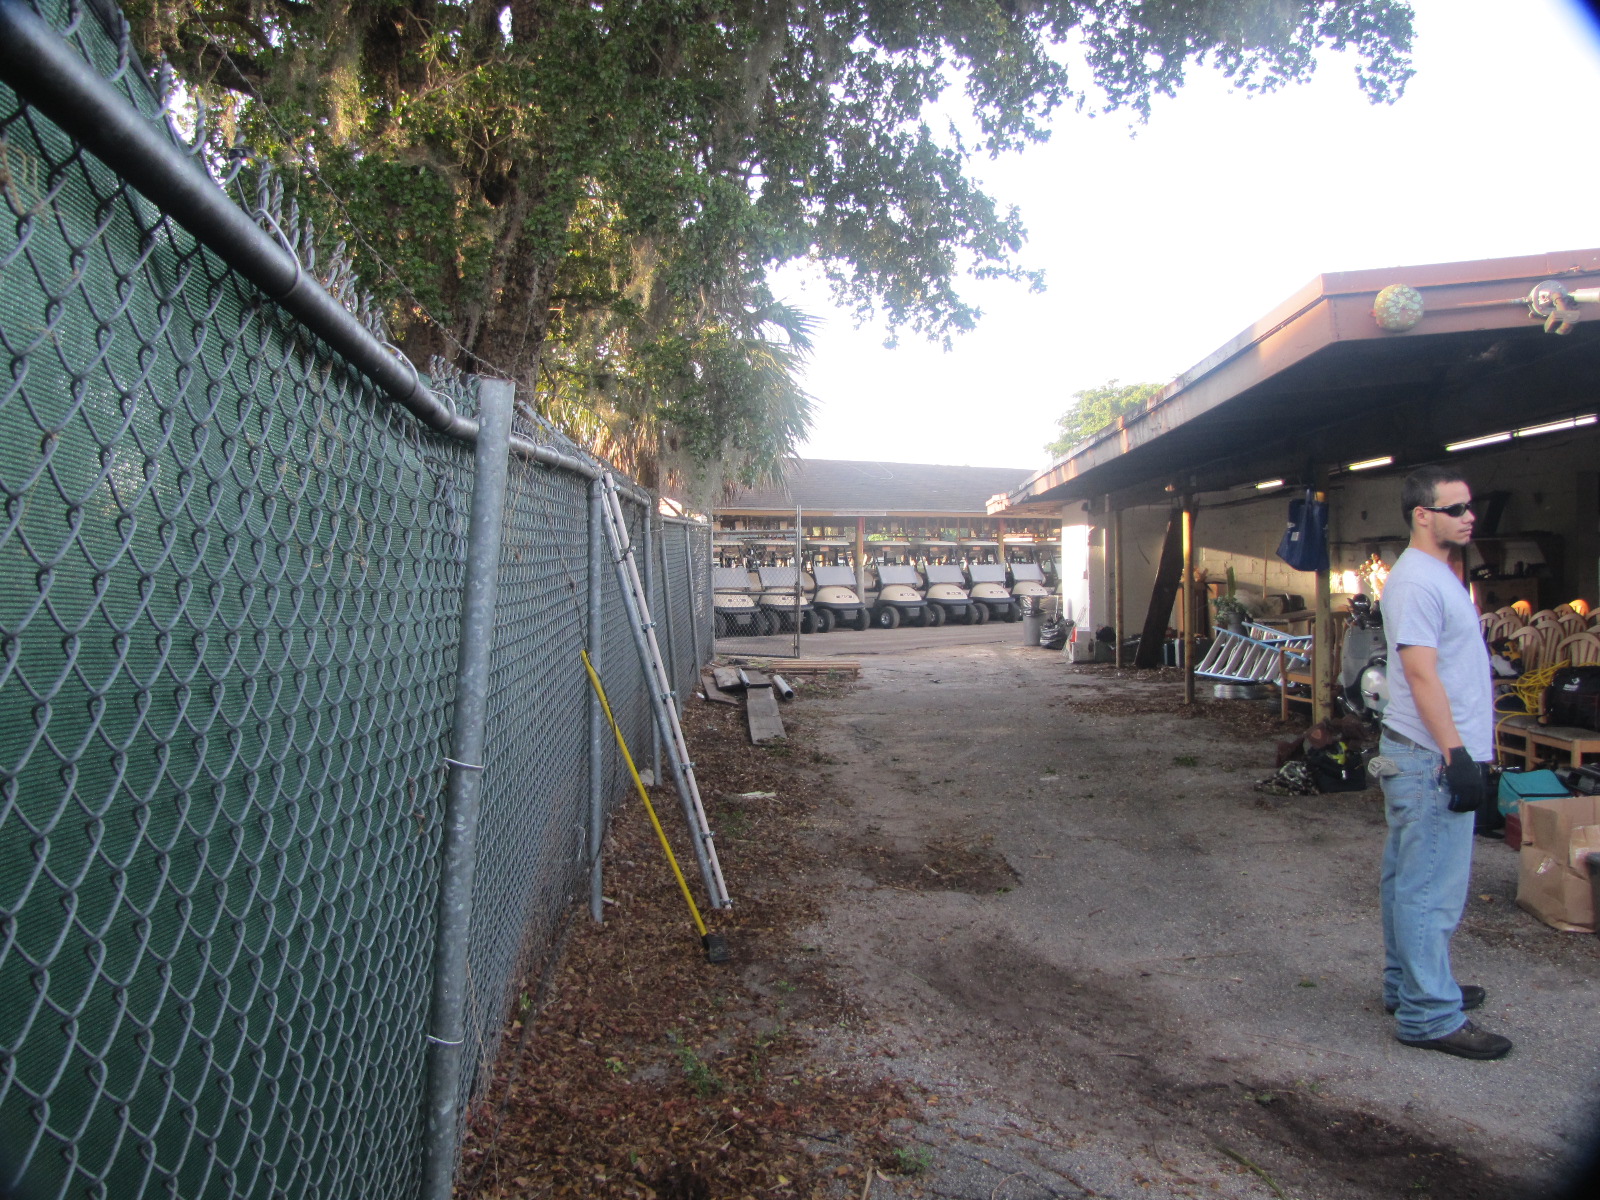
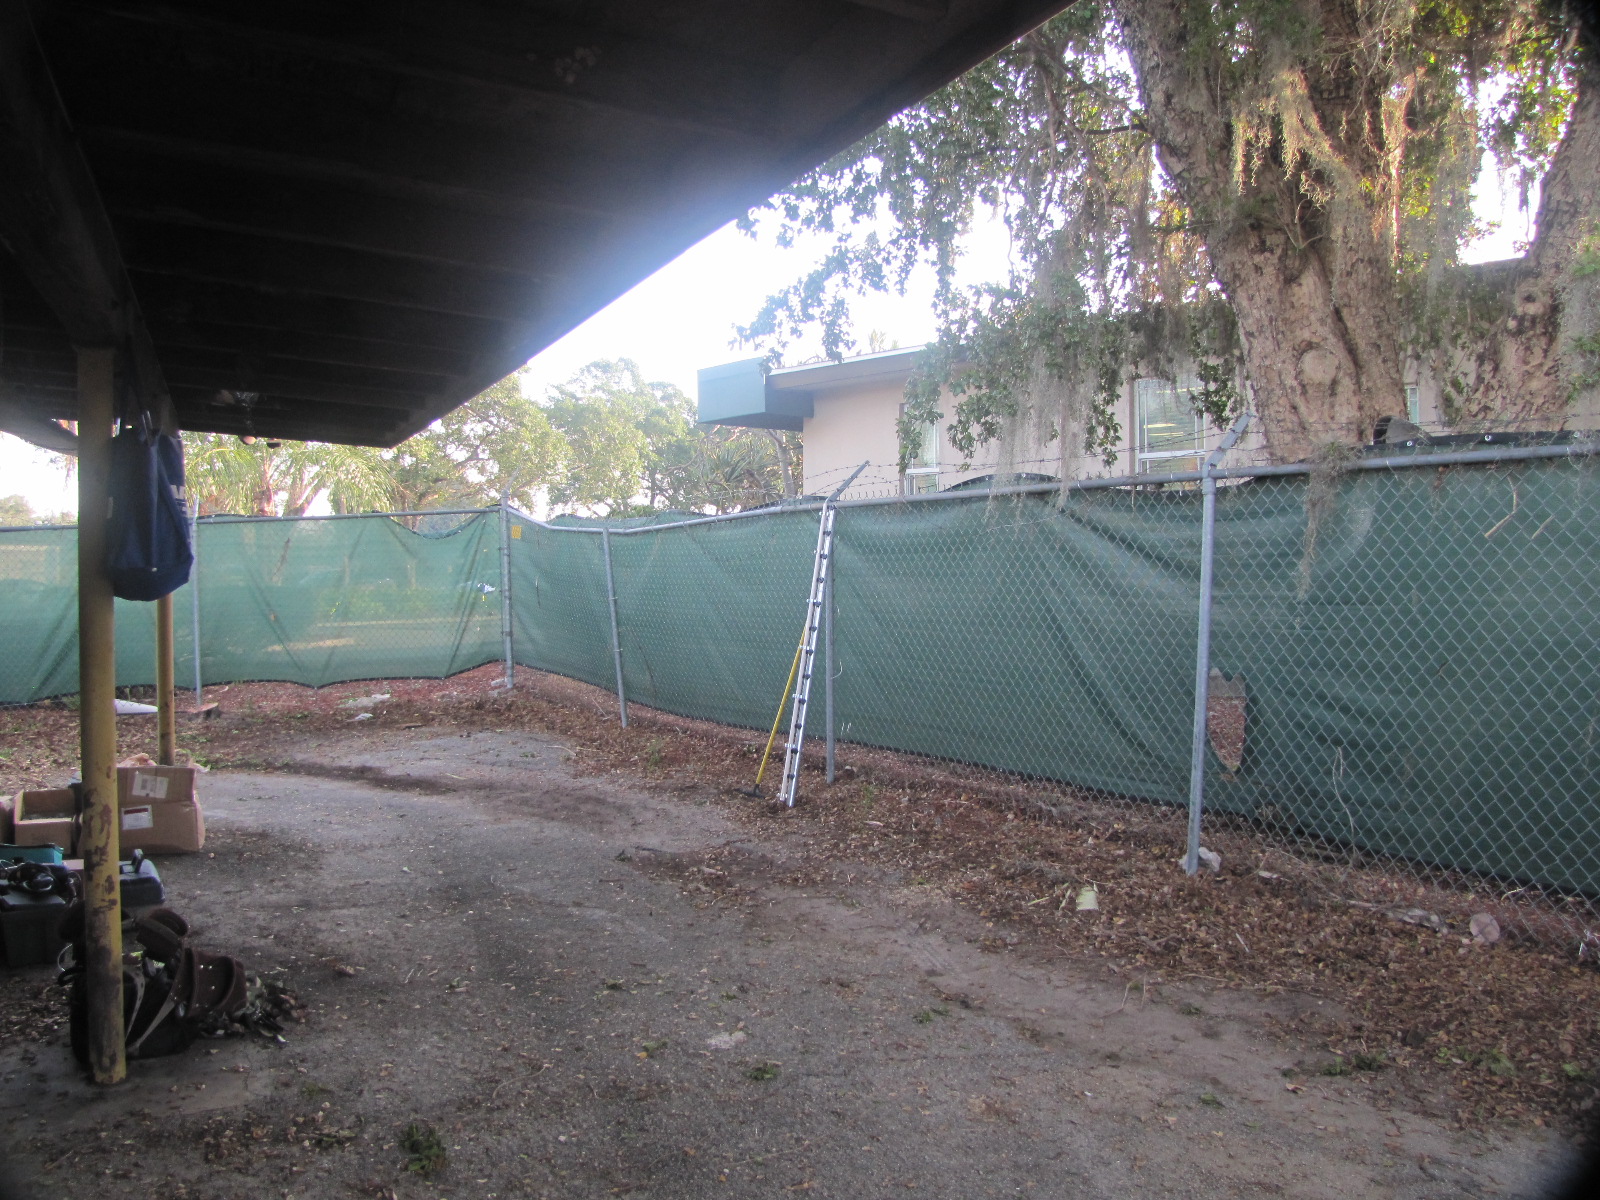
Before:


Installation:


At this point, our photographer decided she was a videographer, and the rest of the “after” pictures are in video. If you click on the appropriate icons, full screen and high definition versions of the videos are available.
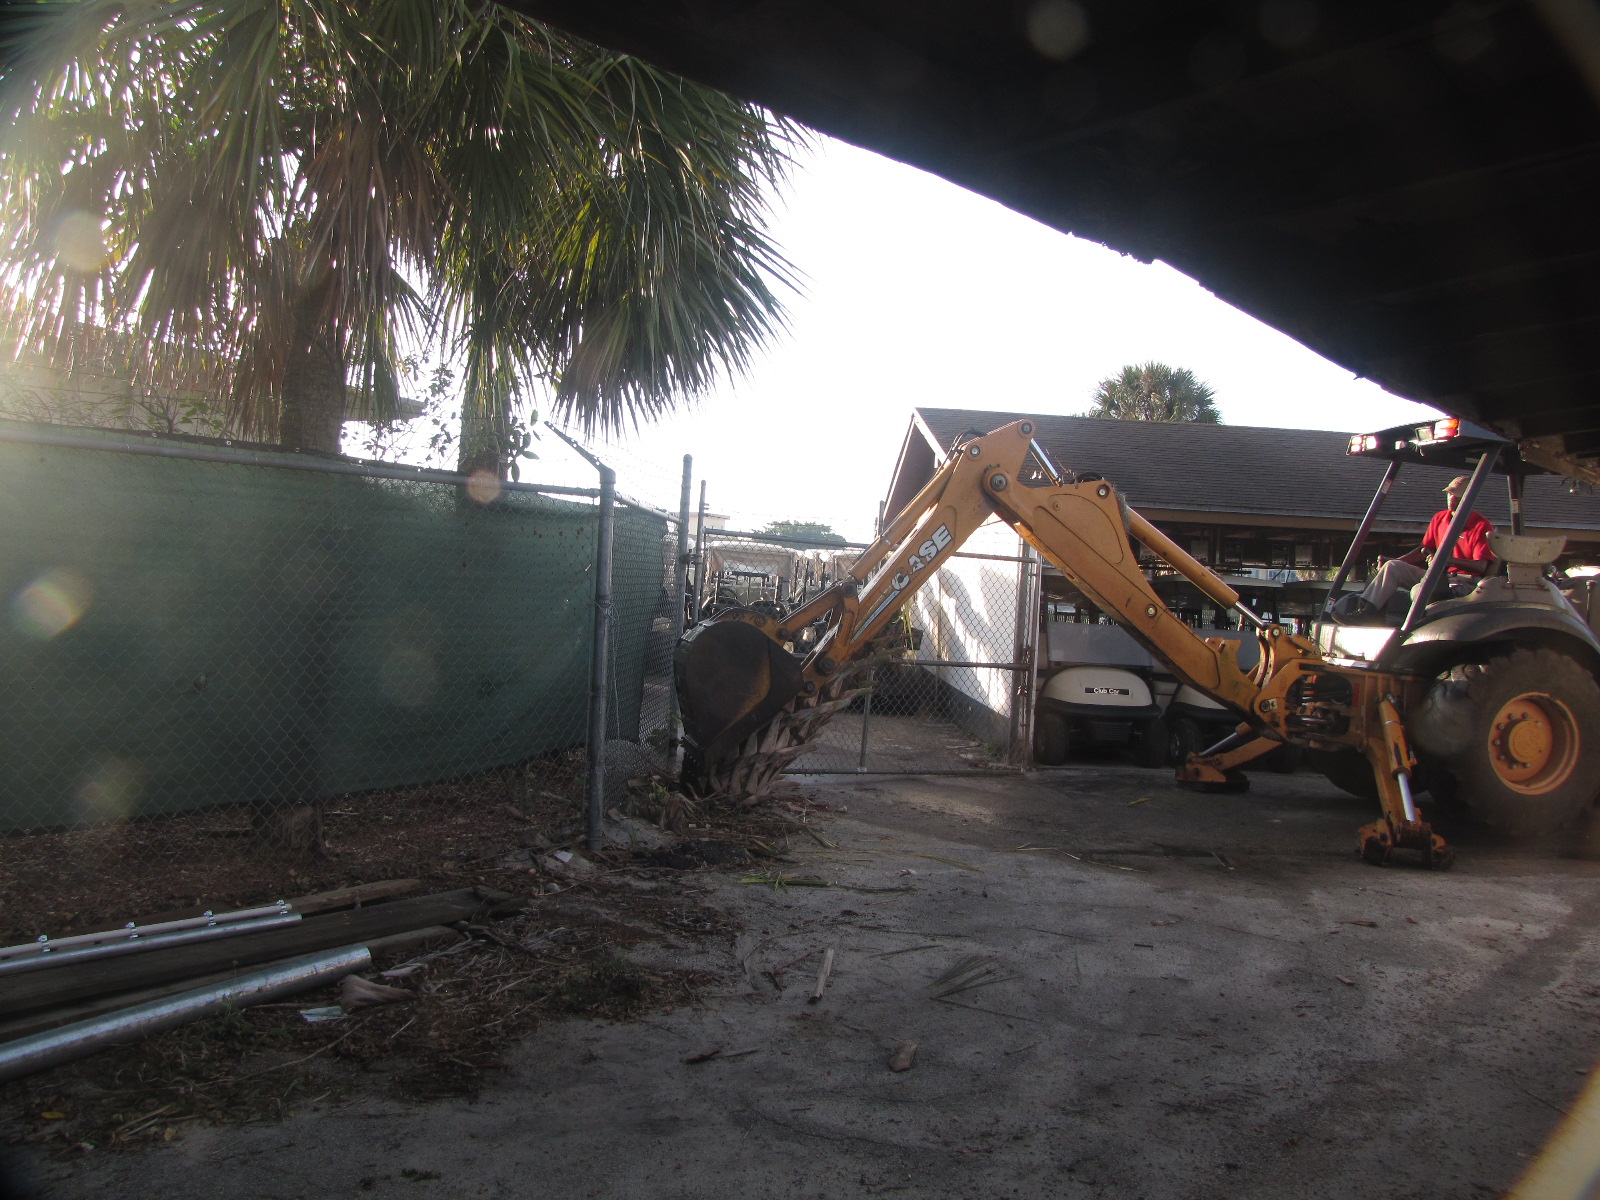
2406: Removing the last tree. Because the roots were surrounded by asphalt it was impractical to transplant the tree.
.
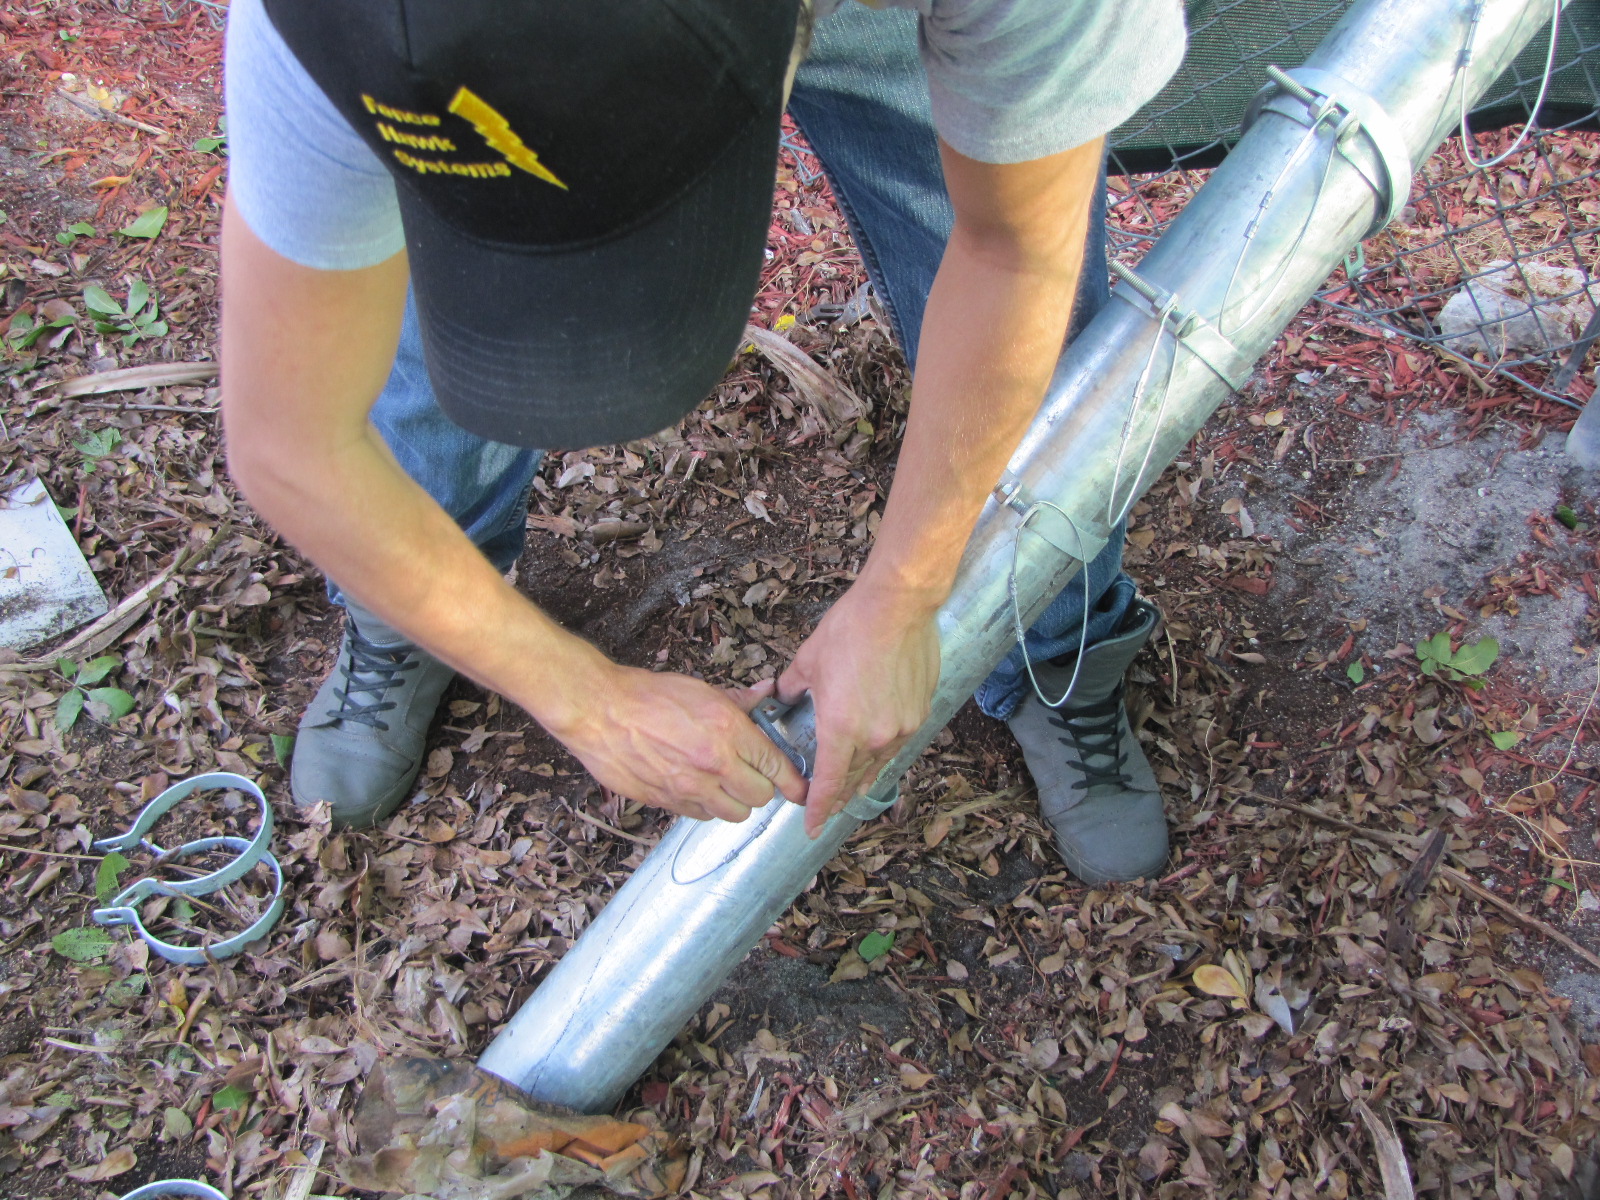
209: Bending fence brace bands open to get them around the existing fence posts, before bolting the new post to the old.
.
210: New guy learning how to bend the brace bands back together before bolting the two posts together.
.
212: Attaching the new post to the old by bolting the brace bands together. Note how much preassembly was done before the post went up. This saves on ladder time, which is extra labor.
.
213: A continuation from 212.
.
214: Finished.
.
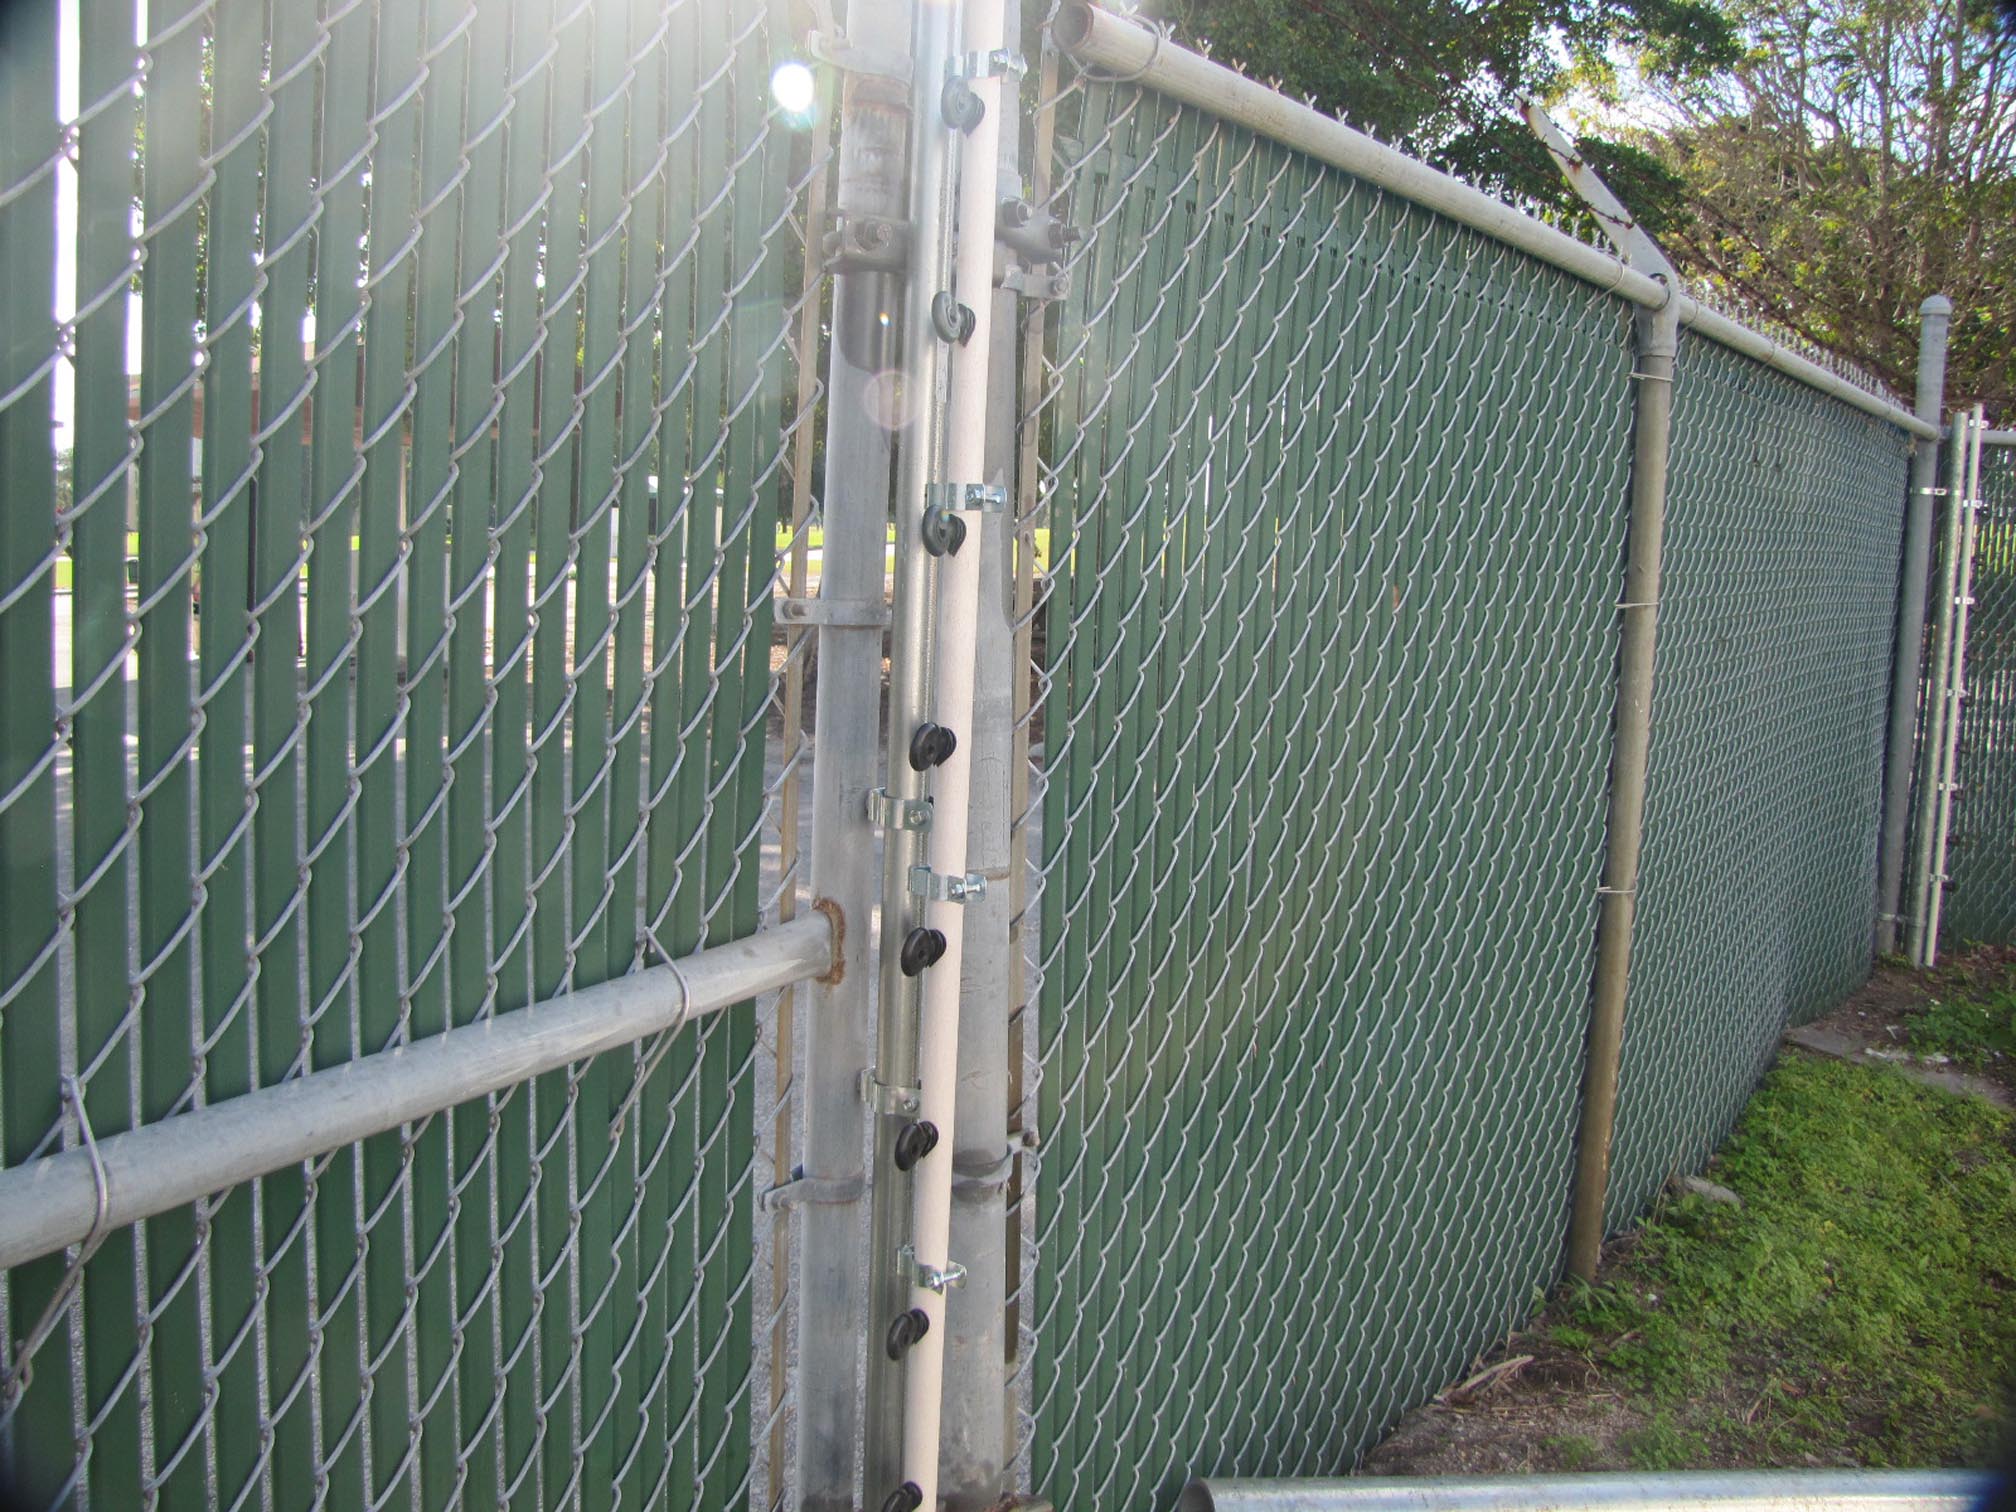
216: Attaching the insulated post clips to the steel posts using self-tapping Tek screws.
.
217: The insulated posts are then connected to the fence clips and a bolt closes the tabs.
.
218: Bolting the clips.
.
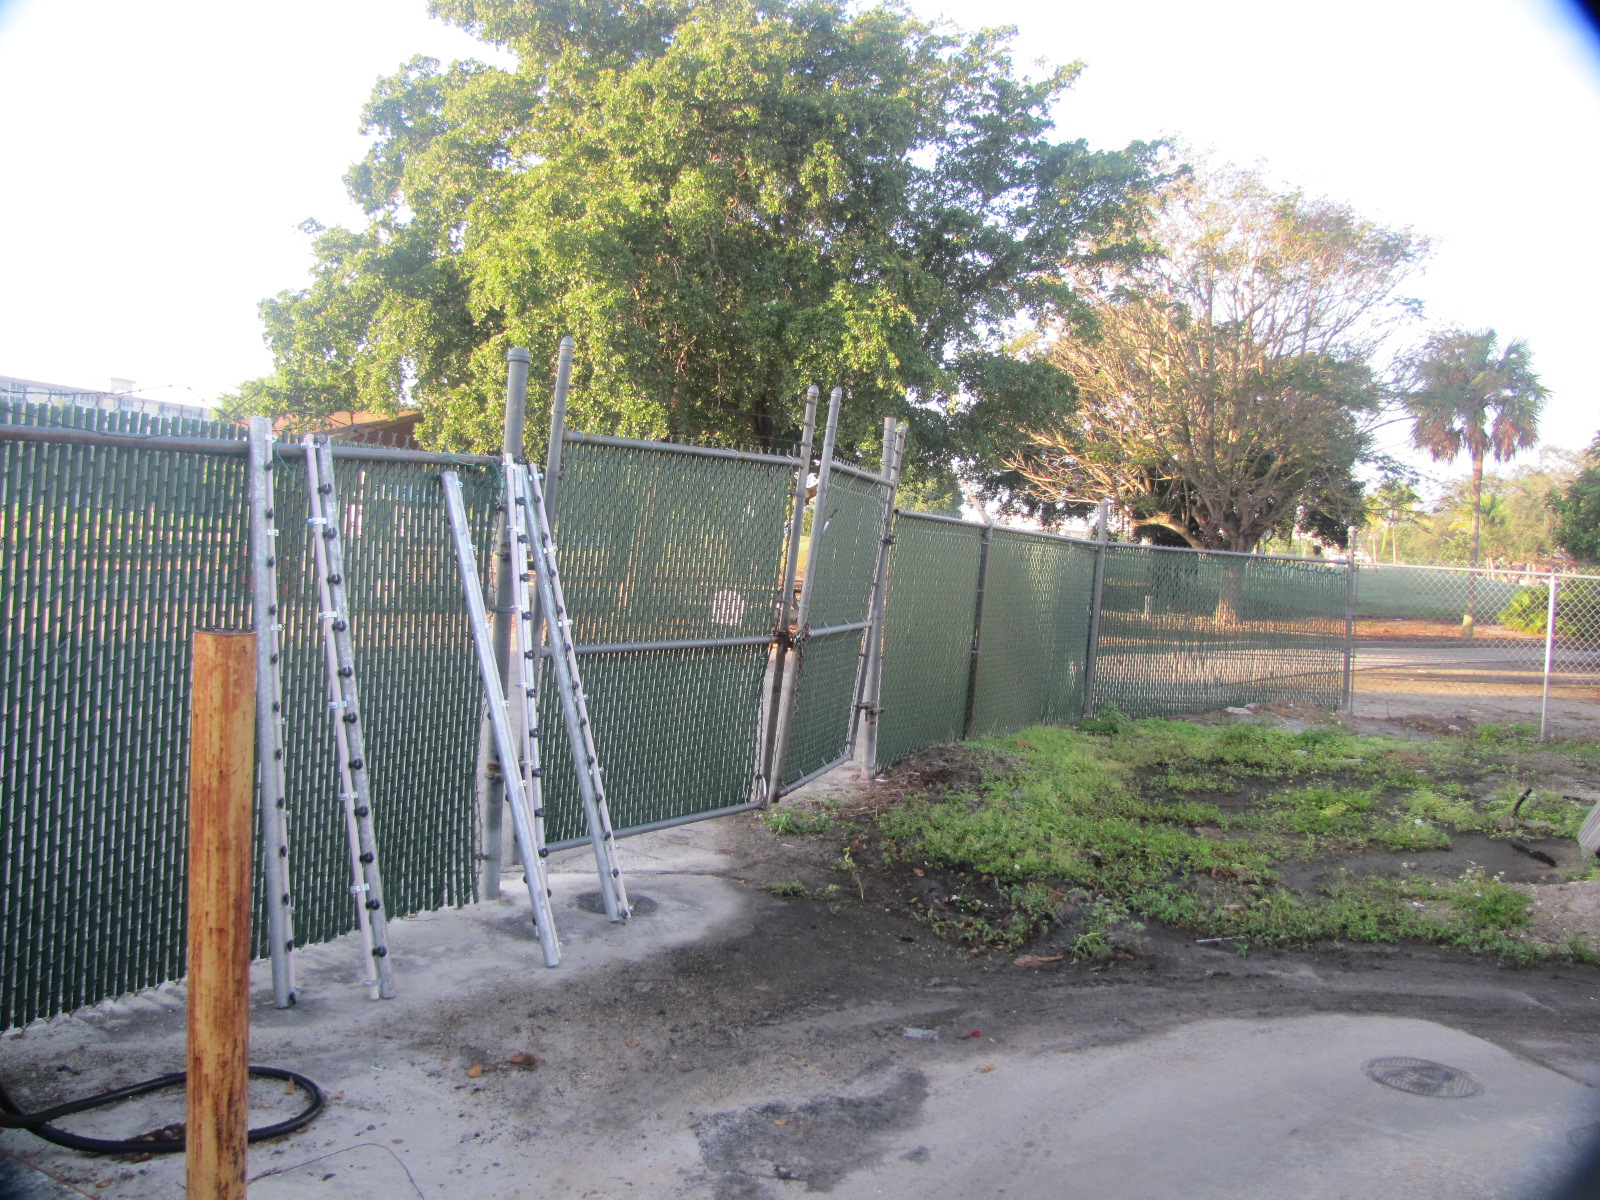
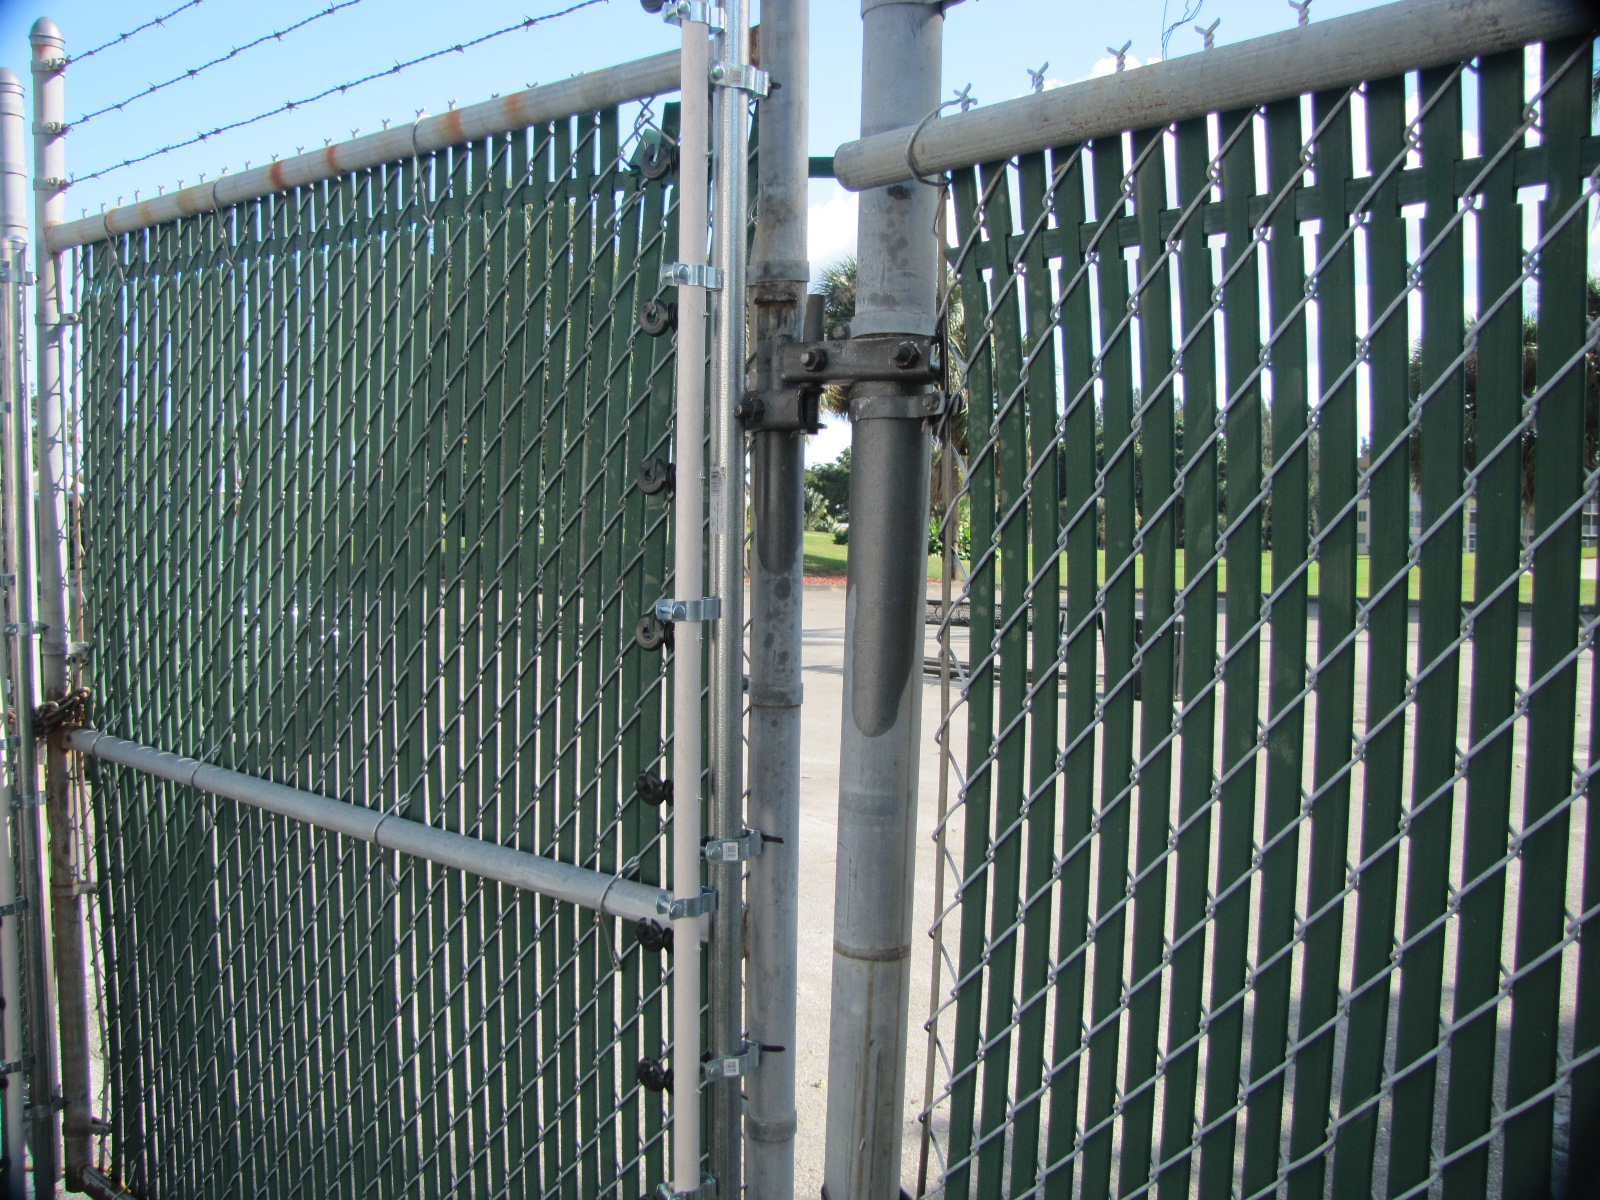
219: Prepping the gates. The insulated posts are attached to steel posts, and the steel posts are connected to the existing gate with fence braces. This gives a frame to take the tension of the electric fence wires.
.
220: A continuation of 219.
.
221: Looking into the cart yard through the main gate. As the camera pans across, note the 3 posts added to the roof of the car barn that carry the electric fence wiring across the roof line, denying access to the roof. As the thunderstorm rolls in, it’s comforting to know that all Fence Hawk Plus monitor/sensors have a 10-year warranty against lightening damage.
.
222: Construction continues. The golf have been moved outside of the gate so as not to interfere with construction during the day. At night, of course, they were moved back in, after our crew quit for the day.
.
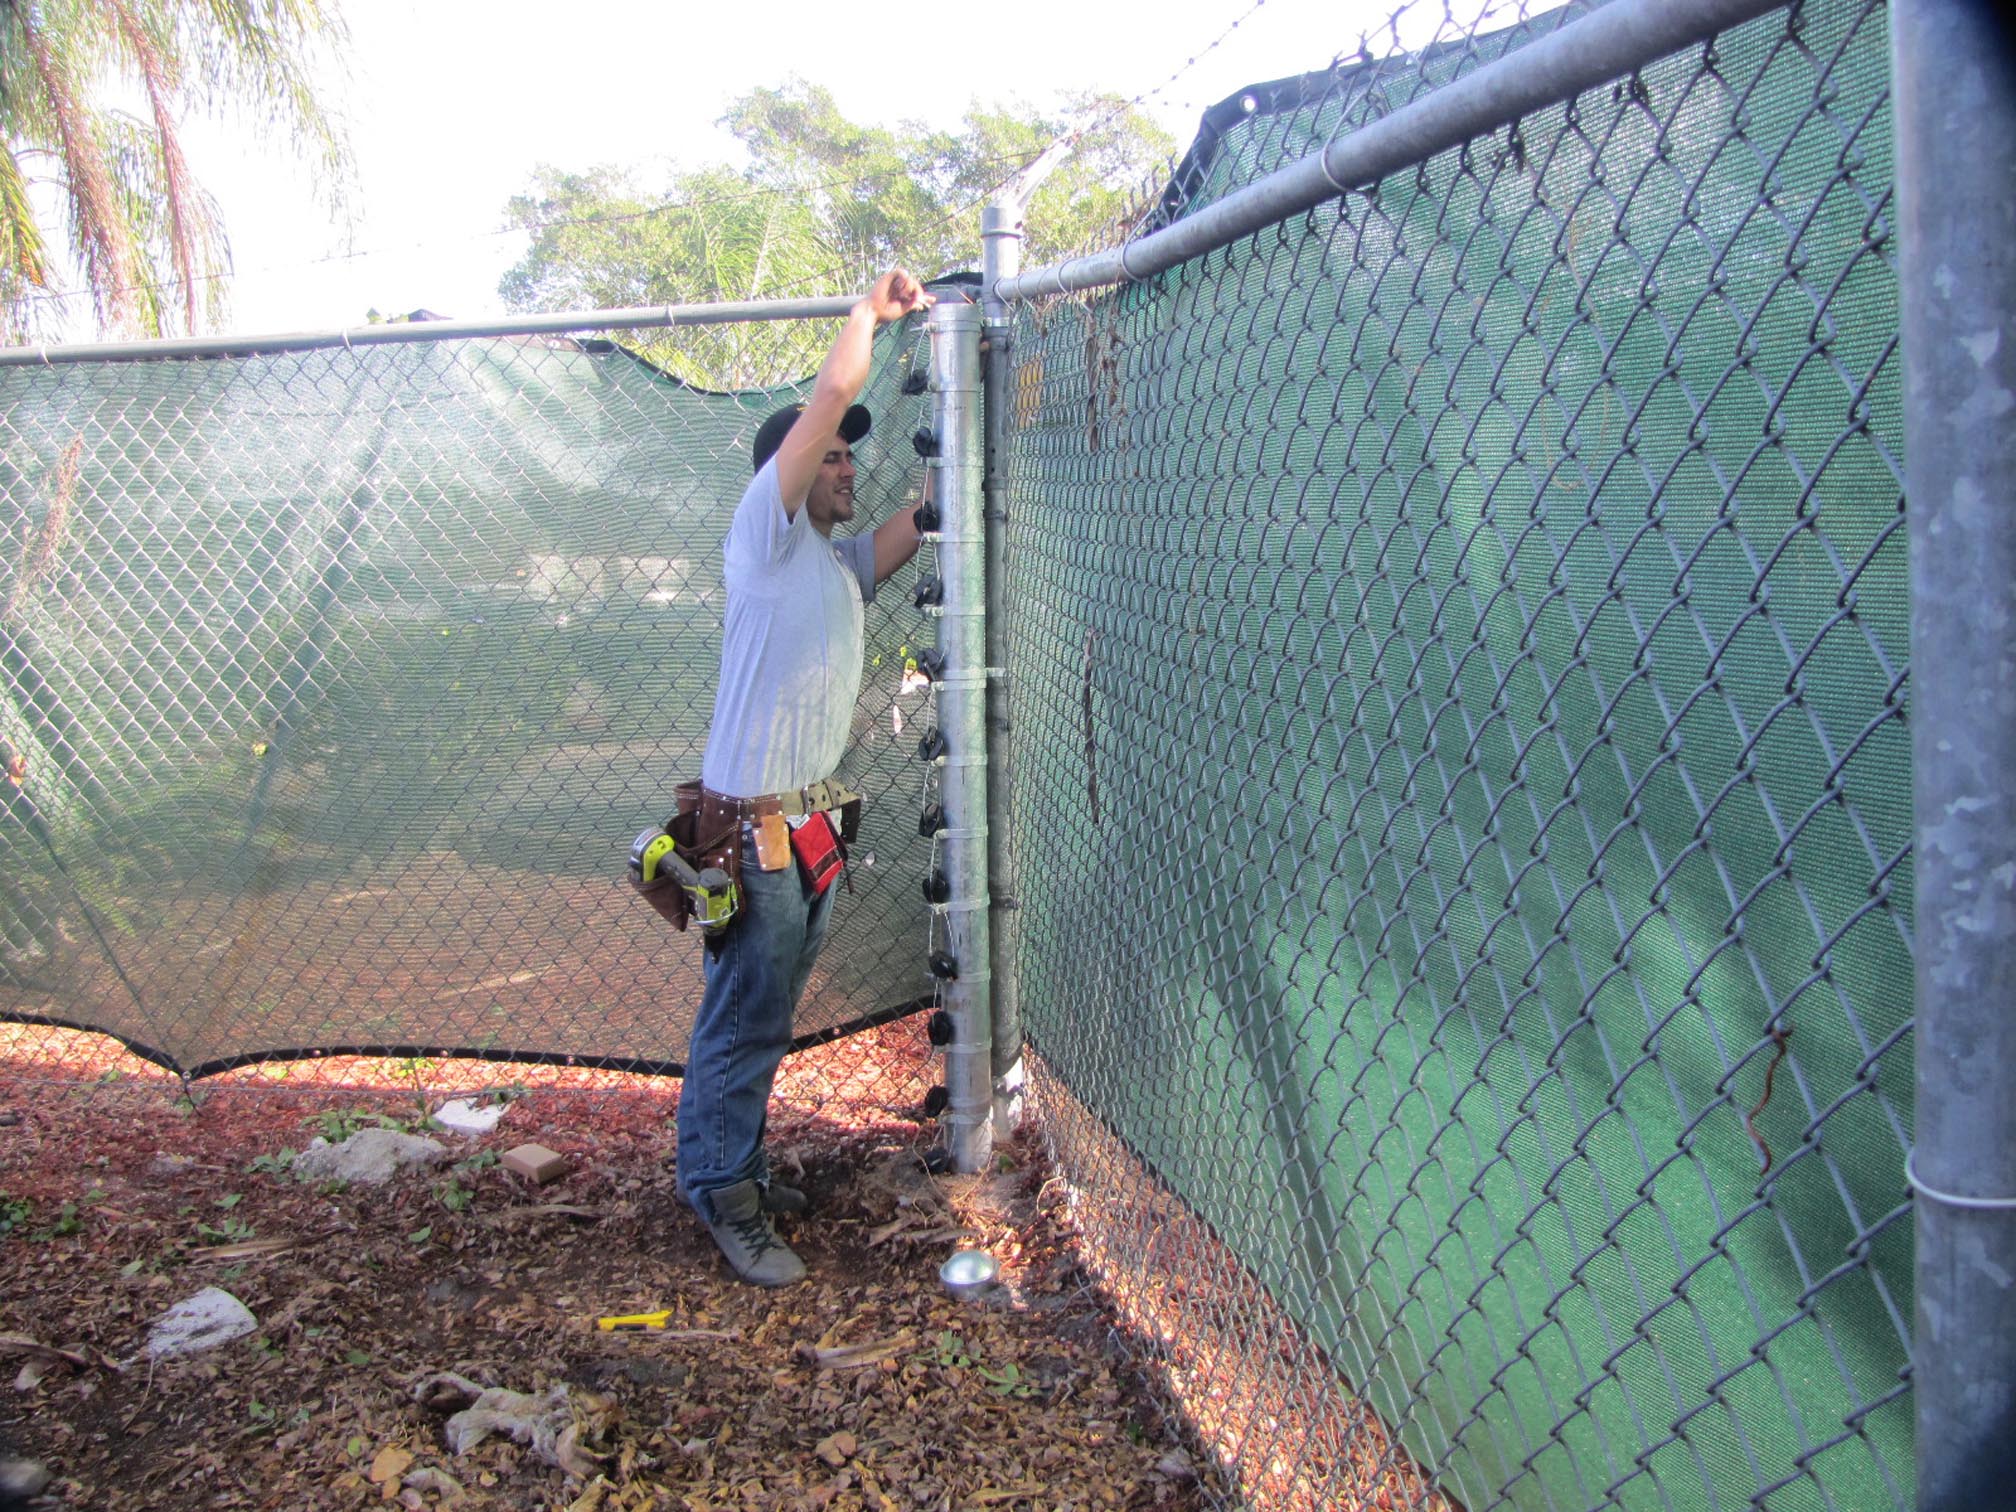
223: The first section of wire is all strung and it starts to look like an electric security fence.
.
224: The second run of wire is finished. If you compare this to the “before” photos, the difference is striking.
.
225: Another view of the second wire run. This section was heavily overgrown in the before photos, and is an amazing change. While vegetation outside of the fence was kept to screen the cart barns from the road, you’ll note how much harder it is for thieves to hide, now. That, plus the monitored electric fence, will eliminate theft for years to come.
.
235: The same section as 225, from a different angle.
.
226: Here we have a good detail shot of the new steel posts that we added to the roof line, and how the insulated posts are attached to them. In this shot the electric wire hasn’t been run yet.
.
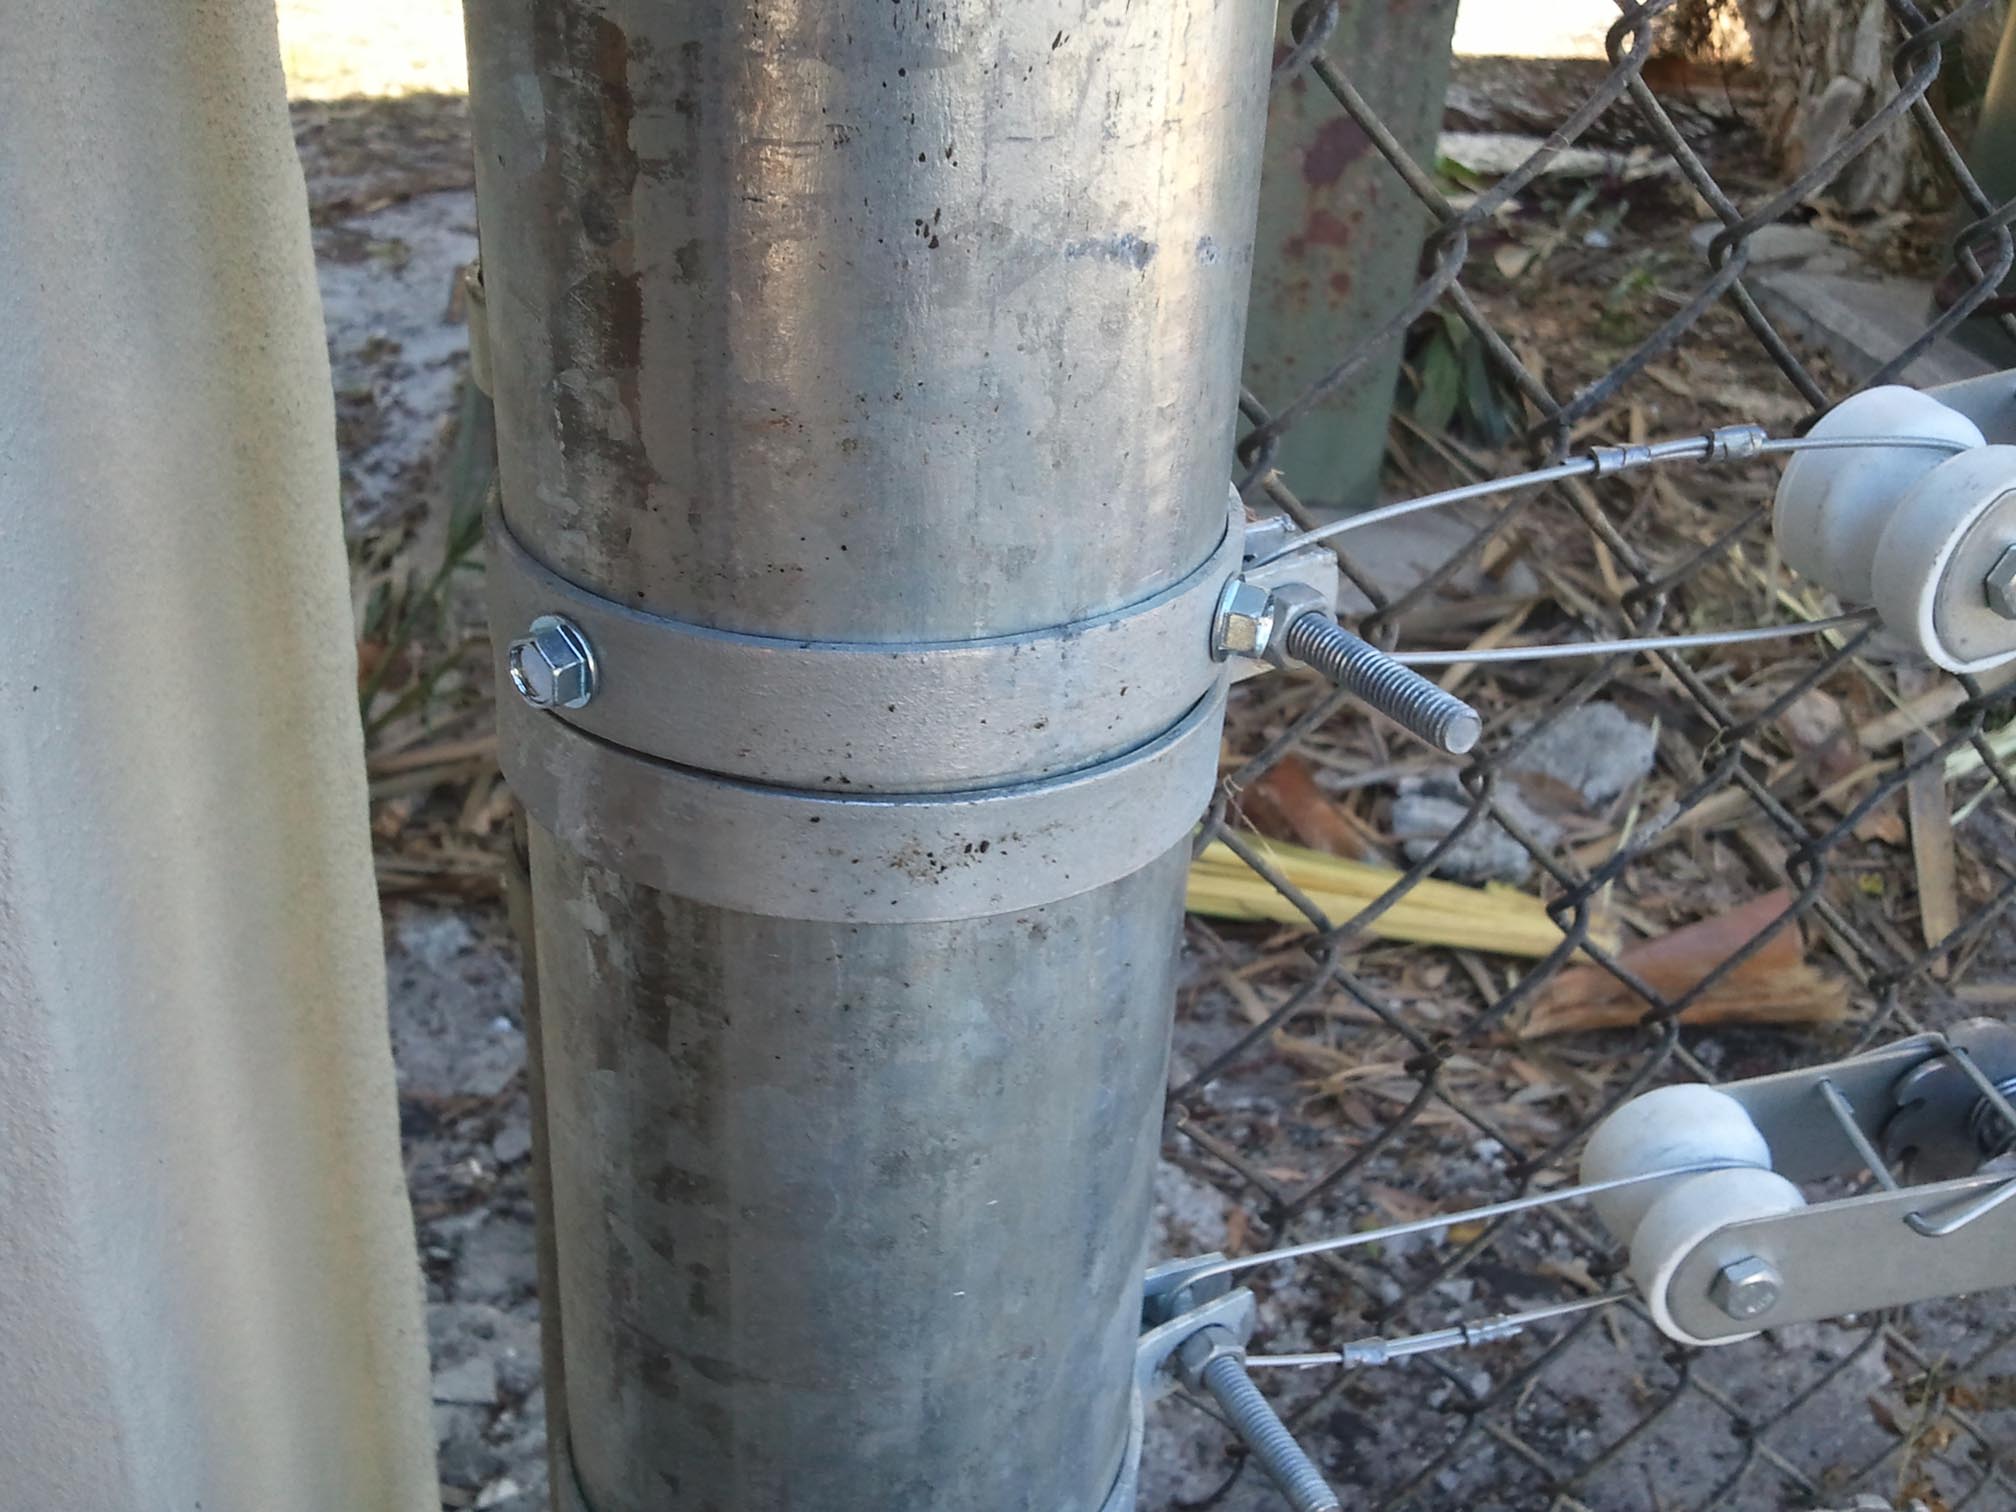
227: A good detail shot of the beginning of the third wire run, showing the new steel post attached to the existing corner fence post, and how the insulated wire tensioners are attached to the new steel posts with wire loops and brace bands.
.
228: More detail shots of the third wire run. We’re only one day away from completion, now.
.
229: Clint Bryant putting the finishing touches on one of the five gates. Also seen is a detailed shot of the compression springs and how they attach to the new steel end posts. 1″ of compression on these springs = 50 lb. of tension.
.
230: More detail shots, as in 229. Note how the brace bands have been attached to the steel fence posts with self-tapping screws. This prevents the posts from twisting, or working their way up or down over time. Workers should always use a tool pouch or apron for the various small parts they’ll need throughout the day. Styrofoam cups are not a good way to carry around fence crimps.
.
231: More detail shots of various aspects of the installation.
.
232: Here we see the last two wire runs. We also get a good view of how the electric wire transitions from the fence to the roof section at the end of the building. Great job with the zoom lens. Rosa!
.
234: A good detail shot of how we carried the electric security fence over the roof line.
.
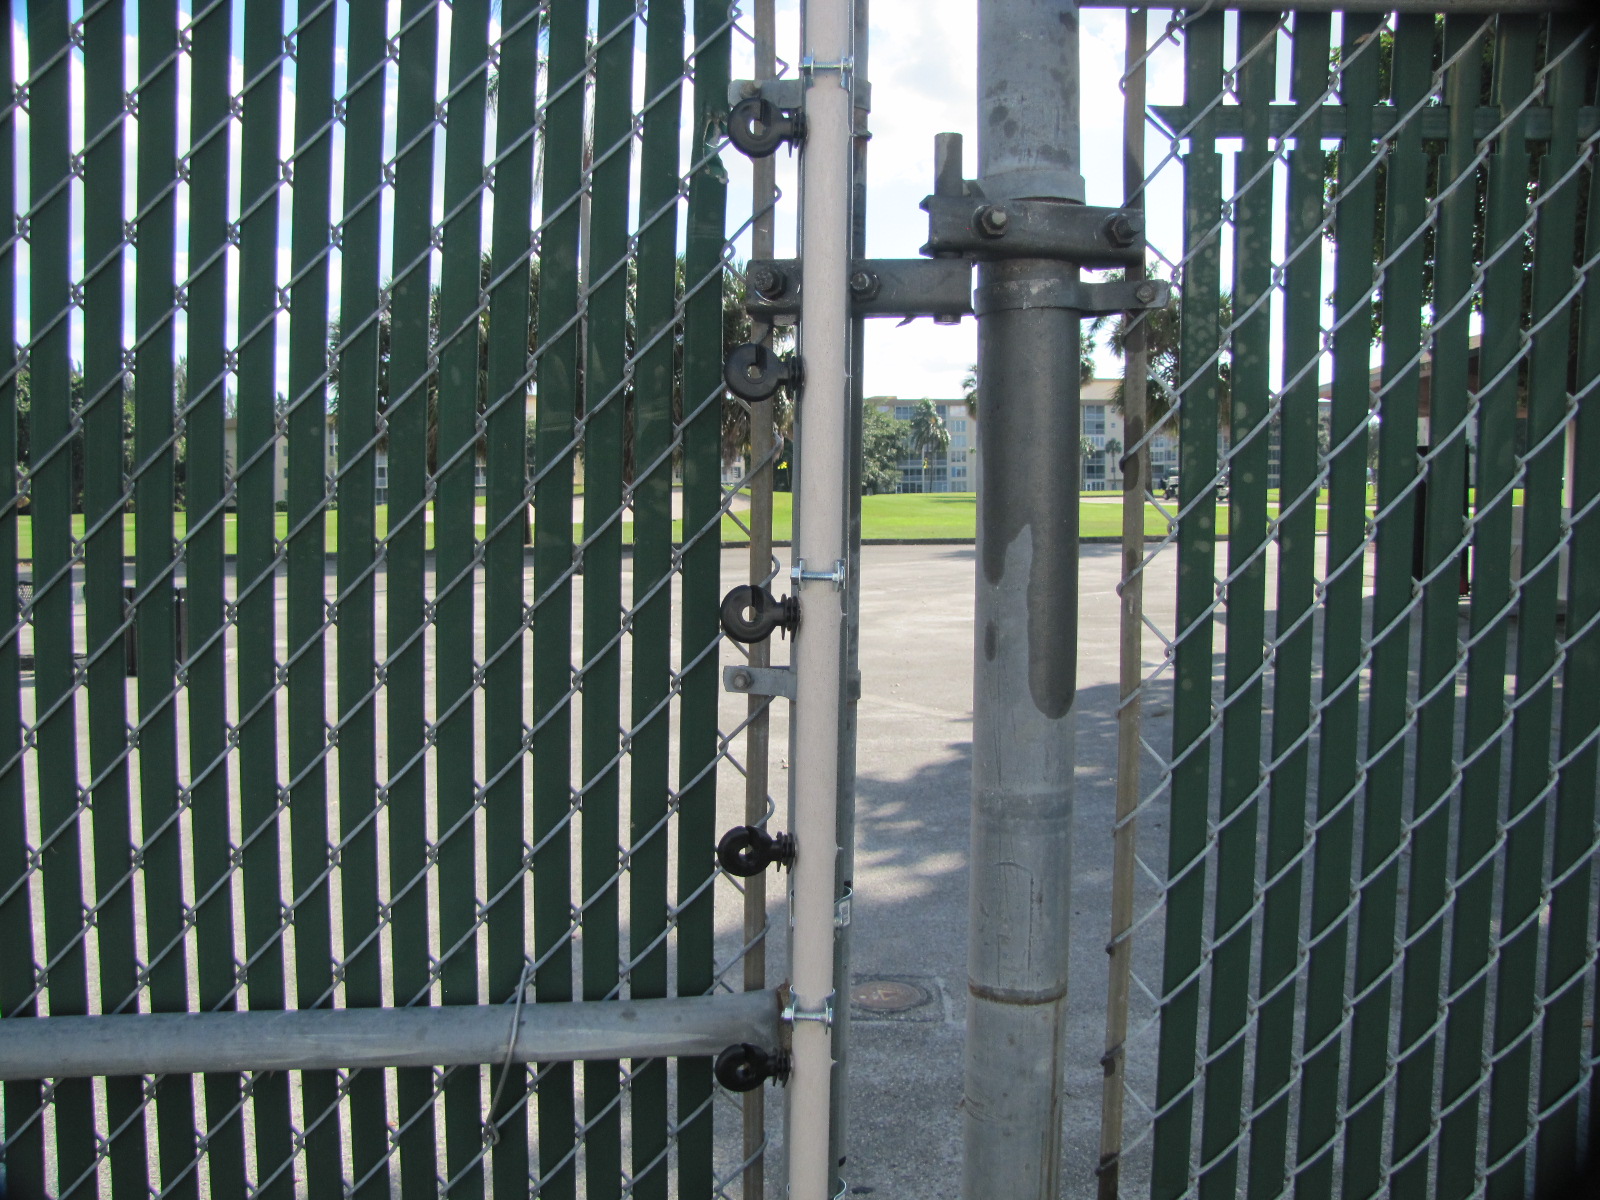
242: Testing the gate contacts. A good shot of how they connect to the fence posts. Note that we’ve got them up high and out of harm’s way.
.
243: The gate contacts on one of the back gates.
.
245: Gate contacts with a slightly different mounting.
.
Total installation time was 4 1/2 days with a crew of 6. This fence took almost as long to build as fences twice its size, because it had so many gates, corners, and curves. Long straight runs go up fast. There weren’t any on this job.
.
240: Take 21 of the intro to our next instructional video. With the magic of editing, we’ll take out the wind noise, the traffic noise, and the airplane flying over. If needed, we’ll splice in bits from the previous 20 takes. When you see this on TV you’ll hardly recognize it.
.
236: Blooper outtake. If you hear a siren, don’t bother turning the camera on. Think first; I didn’t.
.
238: Blooper outtake. Since the sirens just continued on, and on and on, I decided I could speak over them. I did. Instead, I lost my chain of thought to the distractions, this time.
.
239: More bloopers. Takes 9, 10, 11, 12 and 13 – if you think making a TV commercial is easy, you try doing it, with an audience congregating just off-camera!
.